Urban Gardening Recycling Tips: Article At A Glance
- Everyday household items like egg cartons, plastic containers, and spray bottles can be directly repurposed into functional urban gardening tools — saving money and reducing waste.
- Cardboard egg cartons are biodegradable seed starters you can plant directly into soil, eliminating transplant shock.
- Kitchen scraps like fruit peels, vegetable offcuts, and coffee grounds can be composted even in small apartments using a simple countertop system.
- The 3Rs — Reduce, Reuse, Recycle — apply directly to urban gardening, and implementing them can dramatically cut the cost of maintaining a productive garden.
- Some of the most effective repurposed planters are hiding in your recycling bin right now — keep reading to find out which ones work best.
Your recycling bin is quietly holding some of the best urban gardening tools you’ll ever use.
Most city gardeners spend money on seed trays, plastic pots, and watering tools they don’t need to buy. The truth is, a surprising number of everyday household items can be cleaned up and put straight to work in your garden. Whether you’re growing on a balcony, windowsill, or rooftop, recycling what you already have is one of the smartest moves you can make. The Micro Gardener has long championed this approach, helping urban gardeners globally turn ordinary waste into productive, thriving green spaces.
Turn Your Trash Into a Thriving Urban Garden
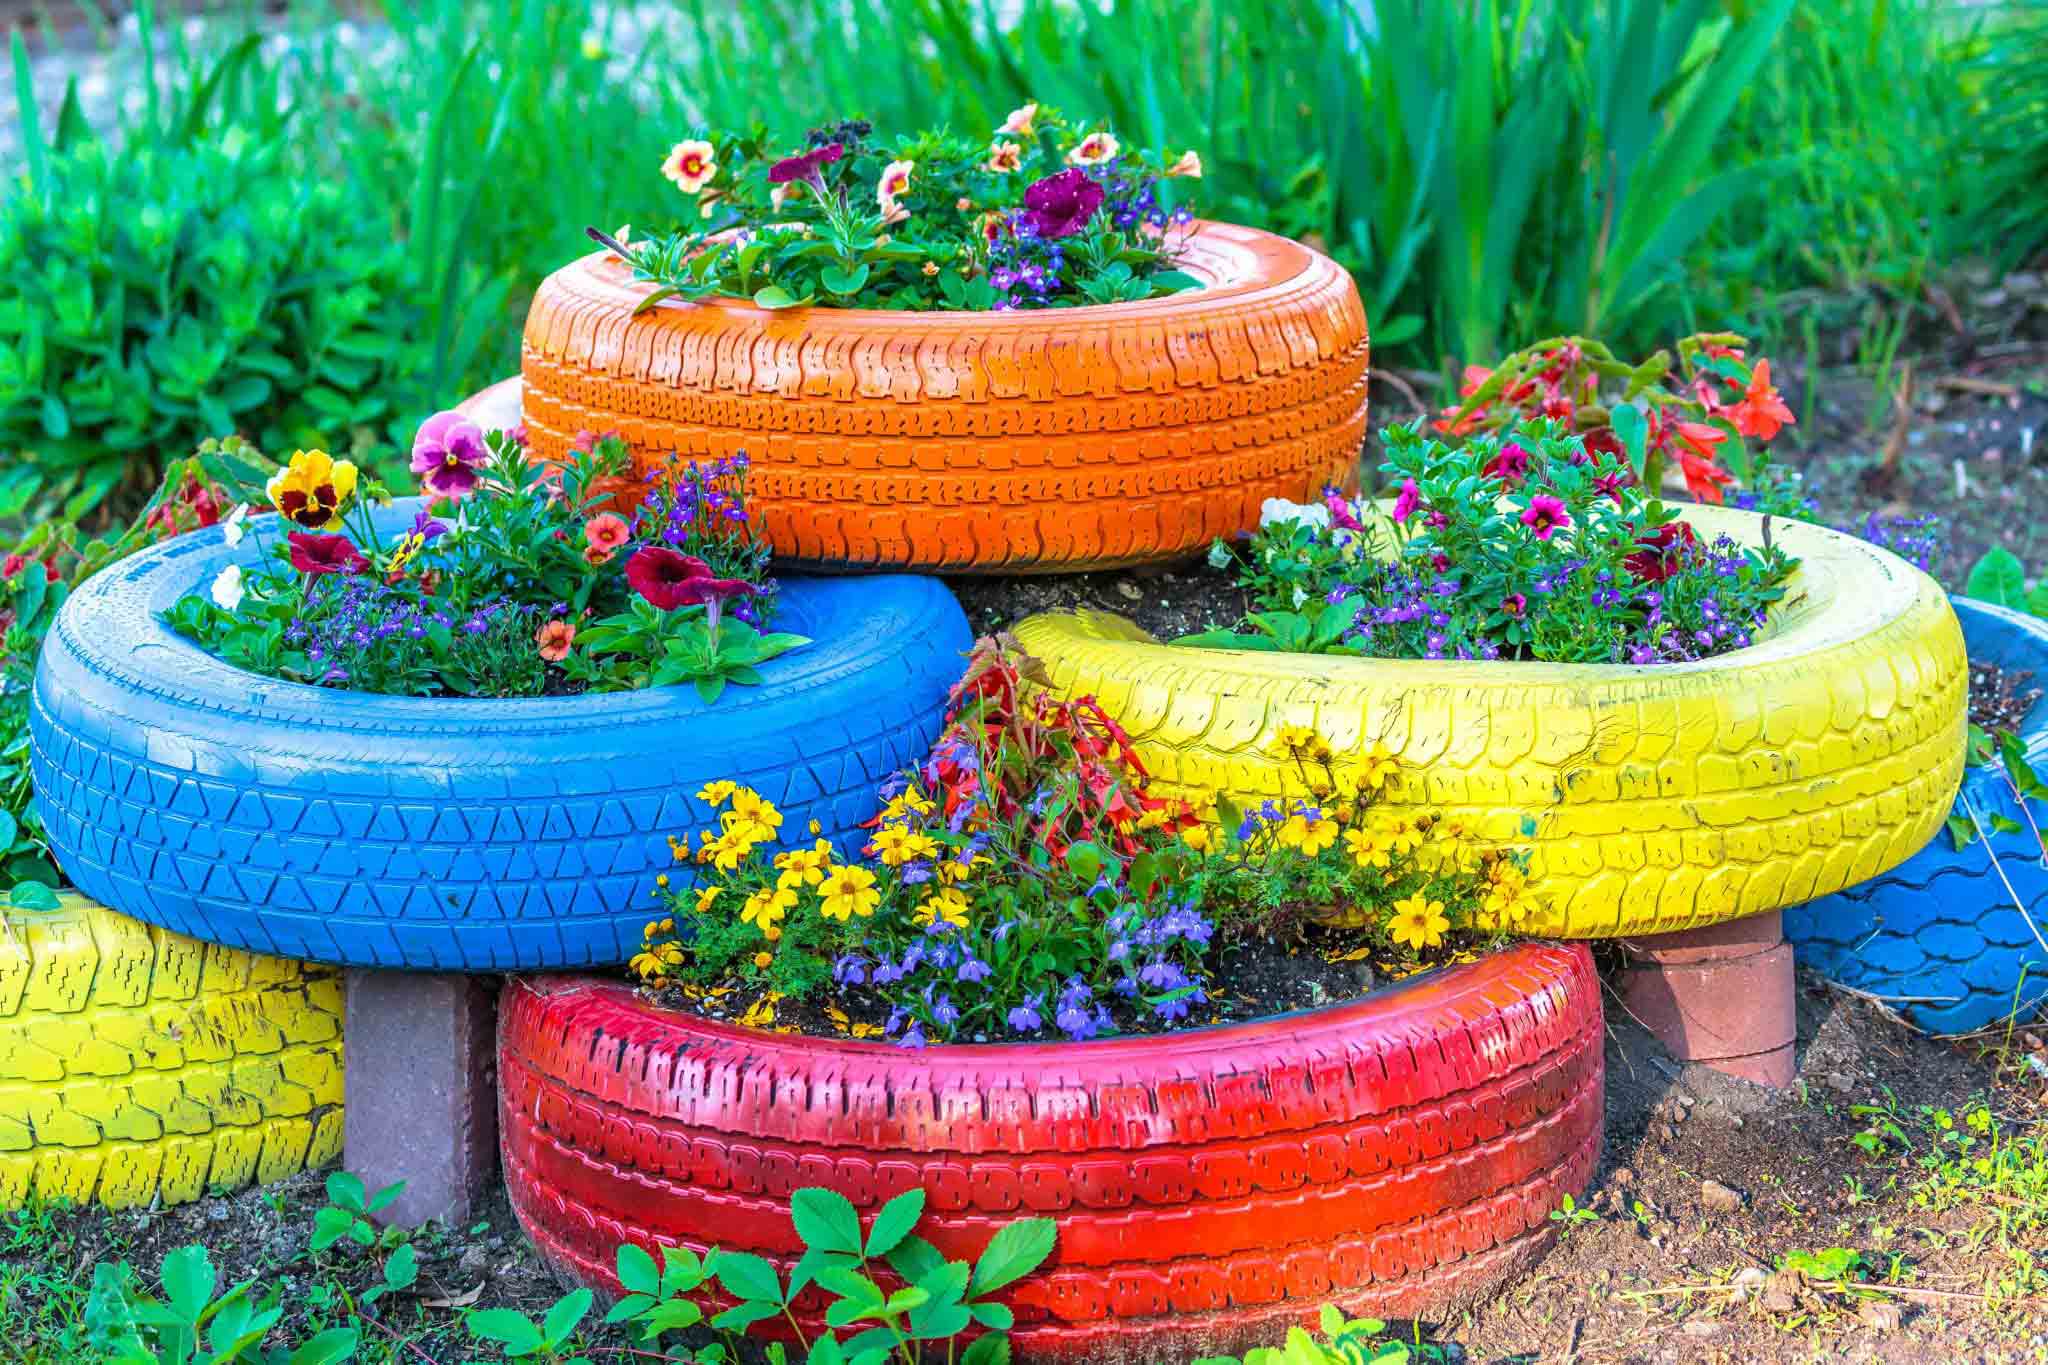
“The Recycled Garden — Turning Waste …” from www.rts.com and used with no modifications.
Before you toss something in the bin, ask yourself one question: Can this have a second life in my garden? The answer is yes more often than you’d expect. Cardboard rolls, plastic tubs, glass jars, old spray bottles — these aren’t waste, they’re resources. Shifting that mindset is the first and most important step toward a more sustainable urban garden.
The environmental payoff is real. Every repurposed container means one less piece of plastic manufactured and one less item headed to a landfill. But the personal payoff is just as compelling — your garden costs less, performs better with compost-enriched soil, and carries a creativity that bought products simply can’t match.
Egg Cartons Make Perfect Seed Starters
This is one of the simplest and most effective recycling swaps in urban gardening. Instead of purchasing plastic seed trays, save your egg cartons — both cardboard and plastic versions work, though they behave differently once it’s time to transplant. For more creative ideas on repurposing items in your garden, check out these frugal gardening tips.
Why Egg Cartons Work So Well for Seeds
Each individual cup in an egg carton acts as a perfectly-sized cell for a single seed. The compartments are deep enough to support early root development, yet small enough to fit a dozen seedlings on a single windowsill. Cardboard cartons absorb and retain moisture well, creating a stable microenvironment ideal for germination. You can even cover the whole tray with a clear plastic bag punched with a few small holes to create a mini greenhouse effect — boosting humidity right where seedlings need it most. For more creative ideas, check out these thrifty recycling ideas for your garden.
How to Prepare an Egg Carton for Seed Starting
Getting an egg carton ready for seeds takes about two minutes. Here’s exactly how to do it: learn more about frugal gardening and recycling ideas.
- Poke a small drainage hole in the bottom of each cup using a pencil or skewer.
- Wet the cardboard carton thoroughly before adding any soil — this prevents it from drawing moisture away from your seed-raising mix.
- Fill each cup with a quality seed-raising mix, leaving about 3mm from the top.
- Sow one seed per cup at the depth recommended for that variety.
- Mist gently with water and cover loosely with a clear plastic bag if you want to accelerate germination.
- Place on a bright windowsill or under a grow light.
For a quick and rewarding crop, try growing microgreens like alfalfa or sprout mix in egg carton cups. They can be ready to harvest in just a few days and are one of the most nutritionally dense foods you can grow at home.
When to Transfer Seedlings Out of Egg Cartons
Transplant timing matters. Move your seedlings when they’ve developed their first set of true leaves — not just the initial seed leaves. At that point, the root system is strong enough to handle the transition. With cardboard cartons, you don’t need to disturb the roots at all. Simply use scissors to cut each individual cup apart and plant the entire biodegradable cup directly into the soil. The soil microbes will compost the cardboard naturally, feeding on the carbon while your seedling settles in undisturbed.
Repurpose Old Spray Bottles for Precise Watering
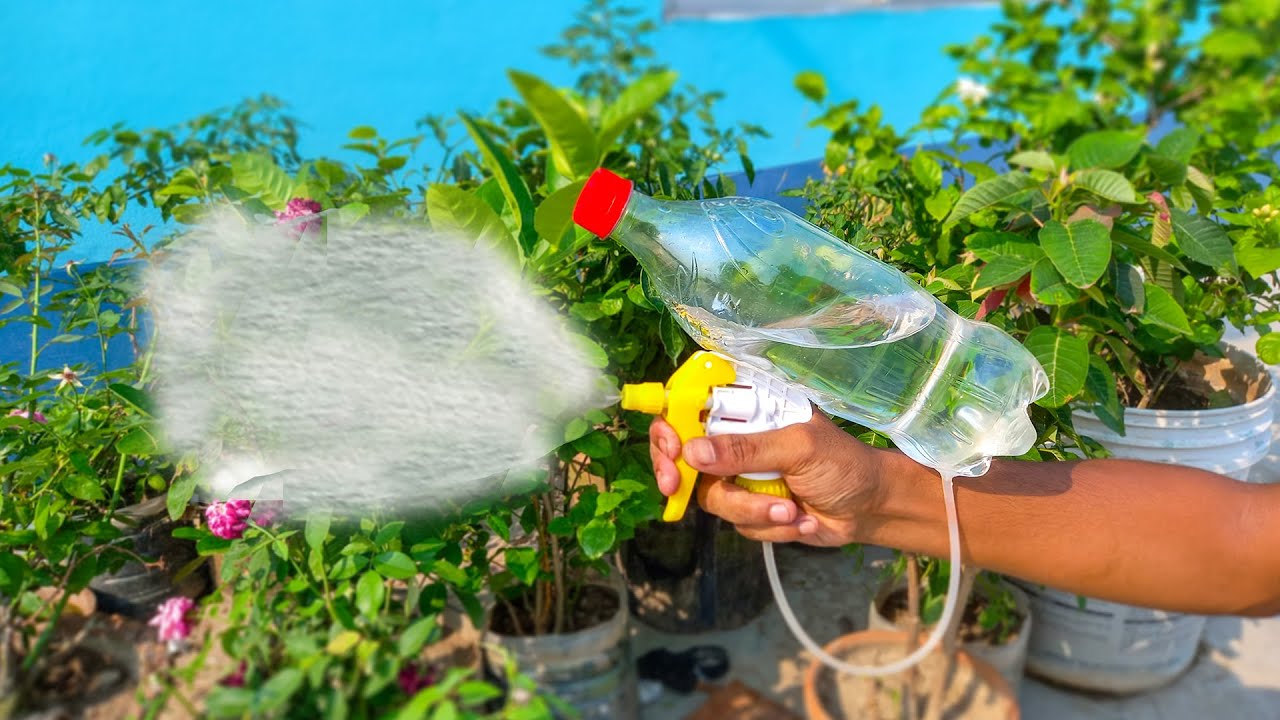
“How To Make A Pressure Spray Bottle – A …” from www.youtube.com and used with no modifications.
Delicate seedlings and young transplants don’t need a flood — they need a fine, controlled mist. A repurposed spray bottle delivers exactly that, and it costs nothing if you already have one sitting under the sink.
Pro Tip: Cleaning product spray bottles can be reused for watering after thorough rinsing — but only use bottles that previously held non-toxic, biodegradable products. Avoid anything that holds bleach, harsh solvents, or synthetic pesticides, as residue can persist even after rinsing and damage young plants.
Beyond basic misting, repurposed spray bottles are useful for applying diluted liquid fertilizer, foliar feeding, and even pest control sprays made from diluted neem oil or soapy water. For more sustainable gardening practices, consider exploring the benefits of composting plant waste. One bottle, multiple functions.
How to Clean and Repurpose a Used Spray Bottle
Rinse the bottle three times with warm water, then fill it with clean water and pump it through the nozzle until the water runs clear and odor-free. If the bottle previously held a mild dish soap, a single thorough rinse is usually sufficient. Label your repurposed bottle clearly — especially if you plan to use multiple bottles for different purposes like plain water, liquid feed, and pest spray.
Best Uses for Spray Bottles in an Urban Garden
- Misting seedlings — delivers gentle hydration without disturbing fragile root systems
- Foliar feeding — applying diluted liquid fertilizer directly to leaves for fast nutrient uptake
- Pest management — delivering diluted neem oil or insecticidal soap spray to affected areas
- Humidity control — misting tropical plants like basil and lettuce that thrive in higher humidity
- Moss and microgreen care — fine mist prevents overwatering in shallow growing trays
Use Household Containers as Planters and Pots
Almost every kitchen produces a steady stream of containers that are structurally perfect for growing plants. Tin cans, yogurt tubs, takeaway containers, colanders, old mugs — once you start seeing these as potential planters, it becomes difficult to throw any of them away. The best part? Most of them cost you nothing, and plants genuinely don’t care whether their home came from a garden center or your recycling bin. For more on sustainable gardening, check out these water conservation tips for urban gardens.
The key is matching container size to plant type and making sure drainage is sorted before anything goes in the ground. Get those two things right, and a repurposed household container will perform just as well as anything you’d buy.
Which Household Containers Work Best
Not all containers are created equal when it comes to urban gardening. Volume, material, and depth all play a role in how well your plants will grow. Shallow containers suit low-growing crops like lettuce, herbs, and microgreens. Deeper containers support root vegetables, tomatoes, and anything that sends roots down rather than out.
Some of the most reliable repurposed containers are ones most people don’t even think twice about before discarding. Here are the household items worth saving:
- Large yogurt and sour cream tubs — deep enough for herbs like basil, parsley, and chives
- Tin cans (large format) — excellent for single plants like dwarf tomatoes or peppers, and they heat up quickly in the sun which some plants love
- Plastic takeaway containers — wide and shallow, ideal for lettuce, spinach, and microgreens
- Old colanders — naturally well-drained, great for strawberries and trailing herbs
- Wooden crates and pallets — lined with hessian or burlap, these create instant raised bed planters
- Milk jugs and large plastic bottles – can be cut in half horizontally to create two planters from one container
- Upcycled toolboxes — surprisingly deep, visually striking, and conversation-starting on a balcony
The only containers worth avoiding are those that previously held toxic chemicals, motor oil, or synthetic pesticides. Even with thorough cleaning, residue can linger in porous materials and affect plant health — and ultimately your food if you’re growing edibles.
How to Prepare a Container for Planting
The single most important step is drainage. Use a nail, drill bit, or heated skewer to punch at least three to five holes in the base of any container before adding soil. Without drainage, water pools at the root zone, oxygen is cut off, and root rot sets in fast. For metal tins specifically, line the inside with a small piece of newspaper or cardboard before adding soil — this slows the rate at which the metal heats up and protects roots from temperature spikes on hot days. Fill with a quality potting mix rather than garden soil, which compacts in containers and limits root growth.
Plants That Thrive in Repurposed Containers
| Container Type | Best Plants to Grow | Minimum Depth Needed |
|---|---|---|
| Large yogurt tub | Basil, chives, parsley | 15 cm |
| Tin can (large) | Dwarf tomatoes, peppers, marigolds | 20 cm |
| Takeaway container | Lettuce, spinach, microgreens | 10 cm |
| Old colander | Strawberries, thyme, oregano | 15 cm |
| Milk jug (halved) | Radishes, spring onions, cress | 12 cm |
| Wooden crate (lined) | Mixed salad greens, dwarf beans | 20 cm |
Herbs are consistently the highest performers in repurposed containers. They’re forgiving, compact, and produce a continuous harvest when regularly trimmed. Basil in a large yogurt tub on a sunny windowsill is one of the most productive and cost-effective things an urban gardener can grow.
If you’re working with a balcony or rooftop space, grouping repurposed containers together creates a microclimate that retains humidity and moderates temperature swings. The plants benefit from being close together, and the visual result — a collection of mismatched, creatively repurposed containers — tends to be far more interesting than rows of identical plastic pots. For more insights on optimizing your space, check out our guide on optimizing urban garden spaces.
Fruit and Vegetable Scraps as Natural Compost
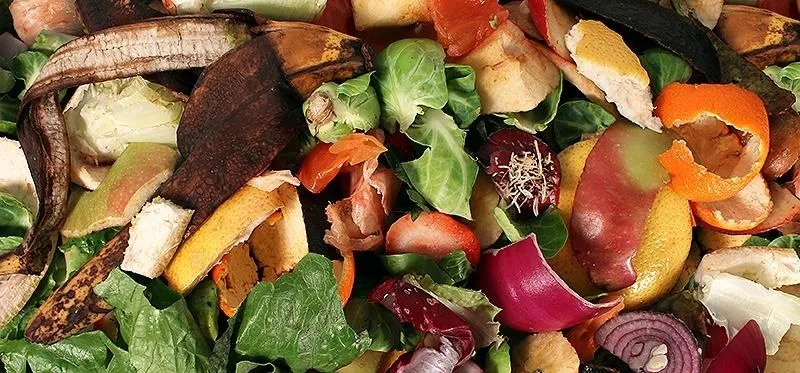
“Trash Talk: 5 Food Scraps You Should …” from food-hacks.wonderhowto.com and used with no modifications.
Compost is the single greatest soil amendment an urban gardener can use, and the raw ingredients are already sitting in your kitchen. Every banana peel, apple core, coffee ground, and vegetable offcut is a future source of nutrients for your plants — the challenge for urban gardeners is simply managing the process in a small space. To learn more about the benefits of composting, check out this article on the impact of composting plant waste.
What Kitchen Scraps Can Be Composted
The golden rule of composting is balance — you need a mix of carbon-rich “browns” and nitrogen-rich “greens” to create compost that breaks down efficiently without smelling bad. In an urban kitchen, greens are easy to generate. Browns take a little more intentional collection.
Nitrogen-rich greens include fruit and vegetable scraps, coffee grounds, tea leaves, and fresh plant trimmings. Carbon-rich browns include cardboard egg cartons (another recycling win), newspaper, paper bags, dried leaves, and cardboard toilet rolls. A rough ratio of two parts brown to one part green keeps the pile balanced and odor-free.
Some kitchen items people commonly question are actually perfectly compostable. Crushed eggshells add calcium to the mix and help aerate the compost. Small amounts of plain cooked grains like rice or oats can go in. Citrus peels decompose more slowly but break down fine in a well-managed system.
- Yes to compost: fruit and vegetable scraps, coffee grounds and paper filters, loose leaf tea and tea bags (remove staples), eggshells, plain bread in small amounts, plant-based food scraps
- No to compost: meat, fish, dairy products, oily or heavily seasoned food, pet waste, diseased plant material, anything treated with synthetic pesticides
How to Start a Simple Compost System in a Small Space
- Countertop compost collector: Keep a small sealed container on the bench to collect scraps daily. Empty it every two to three days to prevent odor buildup.
- Worm farm (vermicomposting): A compact worm farm like the Tumbleweed Can-O-Worms fits under a sink or on a balcony and converts kitchen scraps into rich worm castings and liquid fertilizer within weeks.
- Bokashi system: A sealed fermentation system that processes virtually all food waste — including meat and dairy — in an odor-controlled container. Ideal for apartments with no outdoor space.
- Compost tumbler: For balcony gardeners with slightly more space, a small tumbler like the Maze 60L Compost Tumbler aerates the pile with each rotation and produces finished compost faster than a static heap.
The Bokashi method is particularly worth highlighting for apartment dwellers. The system uses a bran inoculated with effective microorganisms to ferment food scraps in an airtight bucket. It doesn’t look or smell like traditional composting, and it processes a far wider range of materials. Once fermented, the output gets buried in a pot or garden bed where it rapidly breaks down into soil-enriching material.
Whichever system you choose, consistency is the only real requirement. Add scraps regularly, maintain your brown-to-green ratio, and keep the system moist but not wet. Within four to eight weeks — depending on the method — you’ll have a dark, crumbly, earthy-smelling amendment ready to feed your containers.
How Compost Improves Urban Garden Soil
Finished compost does several things simultaneously that no single synthetic fertilizer can replicate. It improves soil structure by increasing aeration in dense mixes and water retention in sandy ones. It introduces beneficial microbial activity that actively supports plant root health. And it delivers a slow-release spectrum of nutrients — nitrogen, phosphorus, potassium, and a range of trace minerals — exactly as plants need them. For more on enhancing plant growth, explore organic soil options for native plants.
For container gardens in particular, compost is critical. Potting mixes degrade over time as nutrients are used up and the structure breaks down. Adding a top dressing of finished compost every six to eight weeks essentially resets the growing environment, extending the productive life of your containers significantly and reducing the need for any synthetic feeding program.
DIY Plant Labels From Recycled Materials
Plant labels are one of those small but genuinely useful garden items that you never need to buy. Old wooden ice cream sticks, cut-up yogurt container lids, strips of aluminum from food tins, and even smooth river stones can all be written on with a permanent marker or paint pen and used to identify what’s growing where. For a more durable option, plastic milk jug strips cut into thin rectangles last for a full growing season outdoors and can be wiped clean and reused the following year. To further enhance your garden, consider exploring organic soil options that complement your DIY plant labels.
Clean Plastic Containers Still Have a Second Life
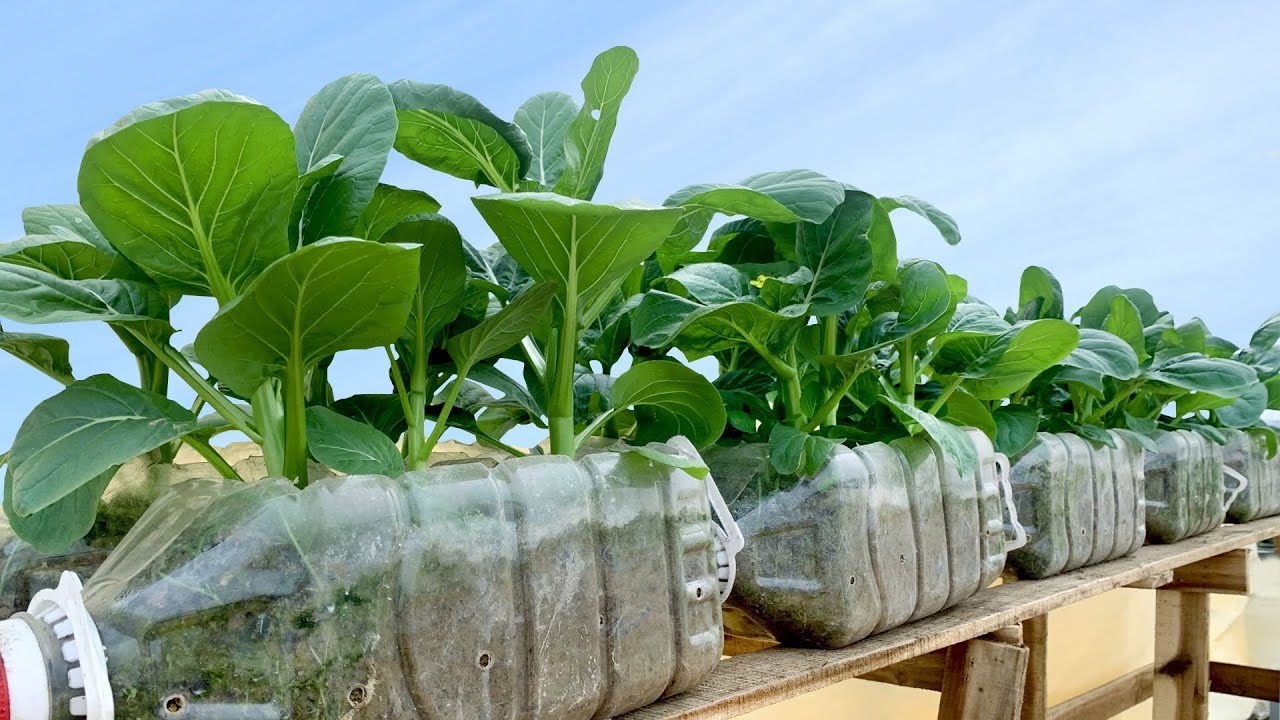
“plastic bottles growing vegetables …” from www.youtube.com and used with no modifications.
Even containers that can’t be repurposed directly in the garden still have value. Any clean plastic container — yogurt tubs, takeaway boxes, bottle caps, and food-grade buckets — can go straight into your recycling bin, where they’ll be processed into new products. The keyword is clean. A quick rinse before recycling prevents contamination of the entire recycling batch, which is one of the most common and easily avoided reasons recyclable materials end up in landfills anyway.
For plastic bottles specifically, consider the cut-and-repurpose method before recycling. A 2-liter plastic bottle cut horizontally gives you two usable containers. The bottom half becomes a planter. The top half, inverted with the cap removed, becomes a self-watering funnel insert that slowly delivers water directly to the root zone of deeper pots. It’s a zero-waste, zero-cost irrigation upgrade that genuinely works.
Small Swaps, Big Impact on Your Garden and Wallet
- Swap plastic seed trays for cardboard egg cartons — biodegradable, free, and plantable directly into the soil
- Swap store-bought plant pots for tin cans and yogurt tubs — clean, punch holes in the base, and they’re ready to go
- Swap commercial potting mix top-ups for homemade compost — kitchen scraps converted into free, nutrient-rich soil amendment
- Swap watering cans for repurposed spray bottles — more precise delivery for seedlings and foliar feeding
- Swap plastic plant labels for cut milk jug strips or ice cream sticks — reusable, durable, and already in your recycling bin
- Swap chemical fertilizers for worm castings and compost tea — produced entirely from your own food waste at zero cost
None of these swaps requires a significant time investment or a complete overhaul of your garden setup. Most take under five minutes to implement and deliver immediate, tangible results — both in plant health and in the reduction of ongoing garden expenses.
The compounding effect is what makes this approach so powerful. Each repurposed item reduces your spending, cuts waste, and often improves your garden’s performance compared to the disposable alternative it replaced. A container garden built largely from repurposed materials is a more resilient, more sustainable, and more cost-effective operation than one stocked entirely from a garden center.
The creativity this mindset unlocks is a genuine bonus. Some of the most visually striking urban gardens in the world are built around repurposed and upcycled materials — mismatched tins on a balcony railing, a wooden pallet herb wall, a colander overflowing with strawberries on a fire escape. These gardens have character, story, and purpose built into every container.
Frequently Asked Questions
Here are the most common questions urban gardeners ask when they start repurposing household materials in their gardens.
Can I reuse any plastic container as a plant pot?
Most plastic containers are perfectly safe for growing plants, but there are some important exceptions. The main things to check before repurposing any plastic container are its previous contents and its food-grade status.
- Safe to reuse: food-grade plastic containers, yogurt tubs, takeaway boxes, milk jugs, water bottles, and food storage containers
- Avoid reusing: containers that previously held motor oil, synthetic pesticides, harsh cleaning chemicals, bleach, or industrial solvents
- Check the recycling number: Plastics marked with recycling codes 1, 2, 4, and 5 are generally considered safe for food and plant use
- Avoid code 3 (PVC) and code 6 (polystyrene) for edible plants — these can leach chemicals, particularly in warm or sunny conditions
When in doubt, use a container for ornamental plants rather than edibles. The risk with toxic residue is low for most standard food containers, but it’s worth being deliberate when you’re growing food you’ll actually eat.
With drainage sorted and the right potting mix in place, repurposed plastic containers perform just as well as purpose-built plant pots — often better, because the variety of shapes and sizes lets you match the container precisely to the plant’s root system.
How do I stop repurposed containers from getting waterlogged?
Drainage is the non-negotiable foundation of successful container gardening, and it’s especially important in repurposed containers that weren’t designed with plants in mind. Always punch, drill, or melt at least three to five holes in the base of any container before adding soil. For large containers, add more holes — a rough guideline is one drainage hole per 10 cm of base diameter.
Adding a thin layer of coarse gravel, broken terracotta pieces, or even crushed eggshells at the base of the container before adding potting mix further improves drainage by preventing the holes from clogging with compacted soil. Avoid using sand as a drainage layer — it actually interacts with potting mix to create a concrete-like layer over time. Raising containers slightly off the ground using small stones, bricks, or purpose-made pot feet also allows water to exit freely rather than pooling under the base.
Are egg cartons safe for growing edible plants?
Yes — cardboard egg cartons are completely safe for growing edible seedlings. They’re made from recycled paper pulp and contain no synthetic coatings or chemical treatments that would affect plant health or food safety. Plastic egg cartons are also safe to use as temporary seed starting trays, though they’re not biodegradable and will need to be removed before transplanting. For edible crops, cardboard cartons are the preferred choice precisely because you can plant the entire cup directly into the soil without disturbing roots — and the carton simply composts in place.
What is the easiest compost method for apartment dwellers?
The Bokashi fermentation system is the easiest and most practical composting method for apartment living. It uses a sealed, airtight bucket and a bran inoculated with effective microorganisms to ferment virtually all food waste — including meat and dairy, which traditional composting can’t handle. The system produces no significant odor when sealed correctly, takes up minimal space under a kitchen bench, and processes a full bucket of scraps within two weeks. For those interested in sustainable gardening, exploring organic soil options can complement your composting efforts.
The fermented output, called Bokashi pre-compost, gets added to a pot of soil or a small outdoor bed where it breaks down into rich soil amendment within two to four weeks. If you don’t have outdoor soil access, many urban community gardens accept Bokashi pre-compost for addition to their shared compost systems. A vermicomposting worm farm is the second-best option — compact, odorless when managed correctly, and producing both worm castings and liquid fertilizer that can be diluted and applied directly to container plants.
How often should I mist seedlings with a repurposed spray bottle?
Seedlings need consistent moisture but are highly vulnerable to both drought stress and overwatering. As a general rule, mist seedlings once to twice daily — once in the morning and again in the early afternoon if conditions are warm or dry. The goal is to keep the surface of the seed-raising mix consistently moist without saturating it.
The best way to judge moisture need is to press a fingertip lightly into the surface of the mix. If it feels dry to a depth of about 5mm, it’s time to mist. If it still feels damp, wait. The frequency you’ll need varies significantly based on your climate, the season, and whether your seedlings are on a sunny windowsill, under a grow light, or covered with a plastic bag mini-greenhouse.
In warmer months or in heated indoor environments, seedlings may need misting twice daily or more. In cooler conditions, once every day or every two days may be sufficient. Overwatering is consistently the most common cause of seedling failure — wilting from underwatering is recoverable, but root rot from waterlogged soil usually isn’t.