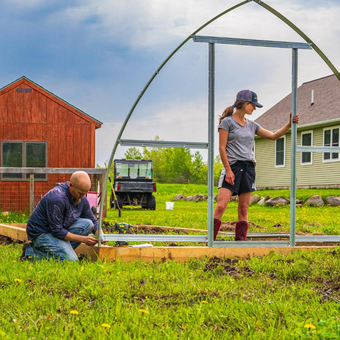
- Greenhouse kits range from under $100 to over $5,000 — and price alone doesn’t determine whether one will work for your garden.
- Most kit failures come down to setup mistakes and wrong climate matching, not poor product quality — something completely avoidable with the right information.
- Polycarbonate panels outperform glass in most backyard greenhouse kits for durability, insulation, and weight — but light transmission differences matter depending on what you’re growing.
- You don’t need a large yard, a warm climate, or a permanent foundation to get real value from a greenhouse kit.
- There’s one critical ventilation mistake most first-time greenhouse kit buyers make that can kill an entire crop — and it’s easier to fix than you’d think.
Article-At-A-Glance: What’s True, What’s Not, and What Actually Matters
Greenhouse kits have never been more accessible — and never more misunderstood.
Walk into any garden center or scroll through Amazon, and you’ll find hundreds of options with wildly different price tags, materials, and size claims. The problem isn’t the variety. It’s the noise. Between overhyped product listings, half-true gardening forum posts, and well-meaning advice from people who’ve never actually assembled one, it’s hard to know what’s real. That’s exactly what this guide cuts through. For anyone looking for a trusted starting point, Greenhouse Emporium has been helping gardeners navigate greenhouse decisions with straightforward, experience-backed guidance.
Whether you’re a first-time buyer or you’ve already tried one kit that disappointed you, the myths covered here are the ones that matter most — the ones that cost people money, wasted growing seasons, and unnecessary frustration.
Most People Have Greenhouse Kits All Wrong
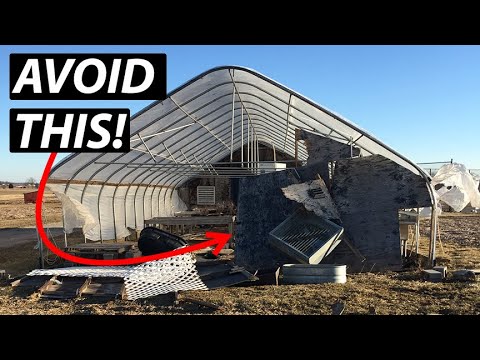
“COSTLY Greenhouse MISTAKES to Avoid …” from www.youtube.com and used with no modifications.
The biggest misconception isn’t about price or size. It’s the assumption that a greenhouse kit is either a serious investment for serious growers, or a cheap plastic toy that won’t survive one season. The reality sits in a much more useful middle ground, and understanding it changes how you shop, how you set up, and how much you actually get out of your growing space.
Why Greenhouse Kit Myths Spread So Fast
Greenhouse kit myths spread for the same reason most gardening myths do — someone had a bad experience with the wrong product, and that story travels further than the success stories. A gardener buys a budget pop-up greenhouse without anchoring it properly, a windstorm takes it down, and suddenly “greenhouse kits don’t last” becomes the takeaway. The product failed because of how it was used, not what it was. That distinction rarely makes it into the retelling.
Online reviews compound the problem. A greenhouse kit with 4,000 reviews averaging 3.8 stars tells you almost nothing useful if you don’t know whether the negative reviews came from people in coastal wind zones using a kit designed for mild climates, or people who skipped the foundation anchoring step entirely. Context is everything, and most review platforms strip it out.
What a Greenhouse Kit Actually Is
A greenhouse kit is a pre-engineered growing structure that ships with all the components needed to assemble a functional greenhouse — frame, covering panels or film, hardware, and instructions. That’s it. It is not a self-contained growing system, it doesn’t come with soil or lighting, and it won’t automatically extend your growing season without some basic setup decisions on your part.
Kits typically fall into a few structural categories:
- Hoop or tunnel kits — metal or fiberglass hoops with polyethylene film covering, typically the most affordable entry point
- Lean-to kits — designed to attach to an existing wall or structure, ideal for small spaces
- Freestanding polycarbonate panel kits — aluminum frame with twin-wall or multi-wall polycarbonate panels, the most popular mid-range option
- Glass greenhouse kits — heavier, more permanent structures with tempered or horticultural glass panels
- Cold frame kits — low-profile, season-extending structures without full standing room
Knowing which category you’re buying from is more important than the brand name on the box. A $300 polycarbonate panel kit and a $300 hoop tunnel are completely different tools, even at the same price point.
Myth 1: Greenhouse Kits Are Too Expensive for the Average Gardener
This myth has real roots — there are greenhouse kits that cost $8,000 or more. But that price ceiling has nothing to do with what most home gardeners actually need, and the range below it is far wider than most people realize before they start looking.
The Real Price Range of Greenhouse Kits
Entry-level hoop-style kits like the Palram Canopia Essence 6×8 start around $300 to $400 and include a powder-coated steel frame with a polyethylene cover. Mid-range polycarbonate kits — the Palram Canopia Harmony 6×10 or the Rion Grand Gardener 2 Clear 6×8 — fall between $600 and $1,500 and represent the sweet spot for most backyard gardeners. Premium kits like the Juliana Premium 9.5×12 or the BC Greenhouse Builders kits move into the $3,000 to $6,000 range and are built for year-round serious growing.
Hidden Costs Worth Knowing Before You Buy
The kit price is rarely the final number. Depending on your setup, you may need to budget for:
- Foundation or base anchoring — gravel beds, pressure-treated lumber bases, or concrete footings depending on kit size
- Shelving and benches — most kits ship without interior shelving
- Ventilation additions — some entry-level kits include only one roof vent, which is rarely sufficient
- Heating — even a small electric fan heater like the Bio Green Palm Heater adds $50 to $150
- Shade cloth — essential for summer growing in most climates
Where the Money Actually Goes
In higher-quality kits, you’re paying for thicker aluminum extrusions, better panel locking systems, and higher-grade polycarbonate with superior UV coating. The Palram Canopia line, for example, uses 4mm twin-wall polycarbonate panels with a 10-year UV warranty — that coating is what prevents the yellowing and brittleness that makes cheap greenhouse panels fail within two seasons. You’re also paying for better ventilation hardware, stronger anchoring systems, and in some cases, tempered glass doors that won’t shatter in cold temperatures the way standard acrylic panels do. For those interested in maximizing their gardening potential, consider optimizing urban garden spaces with indoor gardening lighting kits.
Myth 2: Greenhouse Kits Are Flimsy and Won’t Last
This one comes almost entirely from people who bought the cheapest possible option without checking the specs — or who set up a perfectly decent kit without anchoring it to the ground. Frame quality and installation practice determine longevity far more than the “greenhouse kit” label ever could.
Frame Materials and What They Can Handle
Aluminum is the dominant frame material in mid-range and premium kits, and for good reason. It doesn’t rust, it holds dimensional stability across temperature swings, and when the extrusion wall thickness is 1.2mm or above, it resists bending under snow and wind loads that would collapse a thin galvanized steel hoop frame. The Palram Canopia series uses rust-proof aluminum frames throughout their lineup, which is one reason their kits hold up in coastal and high-humidity environments where steel frames oxidize within a few seasons.
Galvanized steel hoops, used in tunnel-style kits, aren’t inherently weak — but the gauge matters enormously. A 6-gauge galvanized steel hoop handles pressure differently than a 9-gauge hoop of the same diameter. Cheaper tunnel kits often skimp here, which is where the “flimsy greenhouse” reputation originates.
Polycarbonate vs. Glass Panels: Durability Compared
For most backyard greenhouse kit buyers, polycarbonate wins the durability comparison outright. Twin-wall polycarbonate panels — the kind used in the Rion Grand Gardener 2 and the Palram Canopia Harmony series — are virtually unbreakable under normal conditions, handle hail without cracking, and weigh roughly one-sixth of equivalent glass panels. They also provide better insulation, with twin-wall construction trapping an air layer that gives an R-value of approximately 1.5 compared to single-pane glass at R-0.9. For those interested in enhancing their greenhouse’s efficiency, consider exploring indoor gardening lighting kits to optimize plant growth.
Glass panels do offer superior light transmission — around 90% compared to 70–80% for standard twin-wall polycarbonate — which matters if you’re growing high-light crops like tomatoes or peppers in a low-sun climate. But that advantage comes with real trade-offs: glass is heavier, more expensive to ship and replace, and far more dangerous when it breaks. For most home gardeners, polycarbonate is simply the smarter choice.
What Affects a Greenhouse Kit’s Lifespan
Three things shorten a greenhouse kit’s lifespan faster than anything else: UV degradation of uncertified panels, inadequate anchoring that allows frame flex in wind, and condensation management failures that cause standing water to corrode hardware joints. Address all three upfront — buy kits with UV-rated polycarbonate, anchor to a solid base, and ensure proper slope and drainage — and a quality mid-range kit will last 10 to 15 years without structural issues.
Myth 3: Greenhouse Kits Are Hard to Assemble
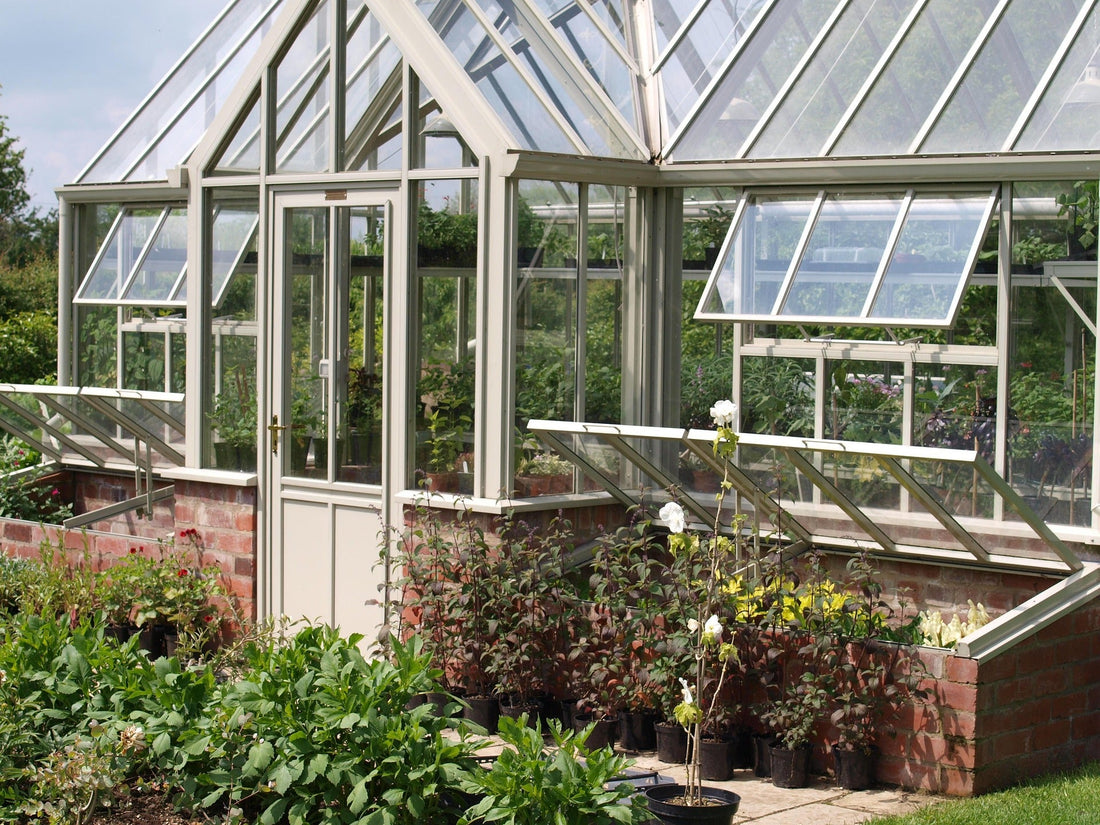
“How to assemble a DIY greenhouse kit …” from mygreenhousestore.com and used with no modifications.
Assembly difficulty is one of the most subjective complaints in greenhouse kit reviews, and it’s also one of the least useful. “This was hard to put together” usually means one of three things: the instructions were poorly translated, the person attempted it alone, or they skipped the foundation leveling step and spent the rest of the build fighting a frame that wouldn’t align. For more insights, you might want to explore myths about vertical farming that have been debunked by experts.
Most quality kits are designed for two-person assembly over a single weekend. The Palram Canopia Harmony 6×10, for example, has a numbered component system and pre-drilled holes throughout — when the base is level, the frame goes together with basic hand tools in a logical sequence. When the base isn’t level, every panel gap and door alignment becomes a battle.
What a Typical Assembly Process Looks Like
A standard polycarbonate panel greenhouse kit assembly follows a consistent sequence: prepare and level the base, lay out and connect the base frame, build and raise the side walls, install the roof frame, insert the polycarbonate panels, and hang the doors and vents. For a mid-sized kit like the Rion Grand Gardener 2 Clear 6×8, most two-person teams complete this in 6 to 10 hours. Larger kits like the Juliana Compact 9.5×8 run closer to two full days.
Tools and Skills You Actually Need
You do not need construction experience to assemble a greenhouse kit. The skill set required is genuinely basic — the ability to follow sequential instructions, use a level, and operate a cordless drill. That’s the honest summary for the vast majority of kits on the market.
The tools most kits require are equally straightforward:
- Cordless drill with Phillips and hex bit heads
- Rubber mallet — for seating frame connectors without damaging aluminum
- 4-foot or 6-foot level — non-negotiable for base frame setup
- Tape measure
- Step ladder — needed for roof panel installation on anything taller than 7 feet
- Utility knife — for trimming polycarbonate panel tape and film
One genuinely useful tip: before you start assembly, lay every component out and match it to the parts list. Missing hardware on day one — a bag of M6 bolts or a specific bracket — is far easier to resolve before you’re mid-build than after.
Myth 4: You Need a Big Yard to Use a Greenhouse Kit
The smallest functional greenhouse kits start at 4×4 feet — a footprint smaller than a standard dining table. Lean-to designs like the Palram Canopia Lean-To Greenhouse 4×8 are built specifically for narrow side yards, fence lines, and patio edges. Even freestanding kits have gotten smaller and smarter — the Outsunny 4×6 Mini Greenhouse fits on a large balcony and still provides enough space to overwinter herbs, start seeds in trays, and protect container plants through frost. Small-space growing is not a compromise. It’s a different tool applied to a different context, and it works exceptionally well when matched to the right kit size.
Myth 5: Greenhouse Kits Can Only Be Used in Warm Climates
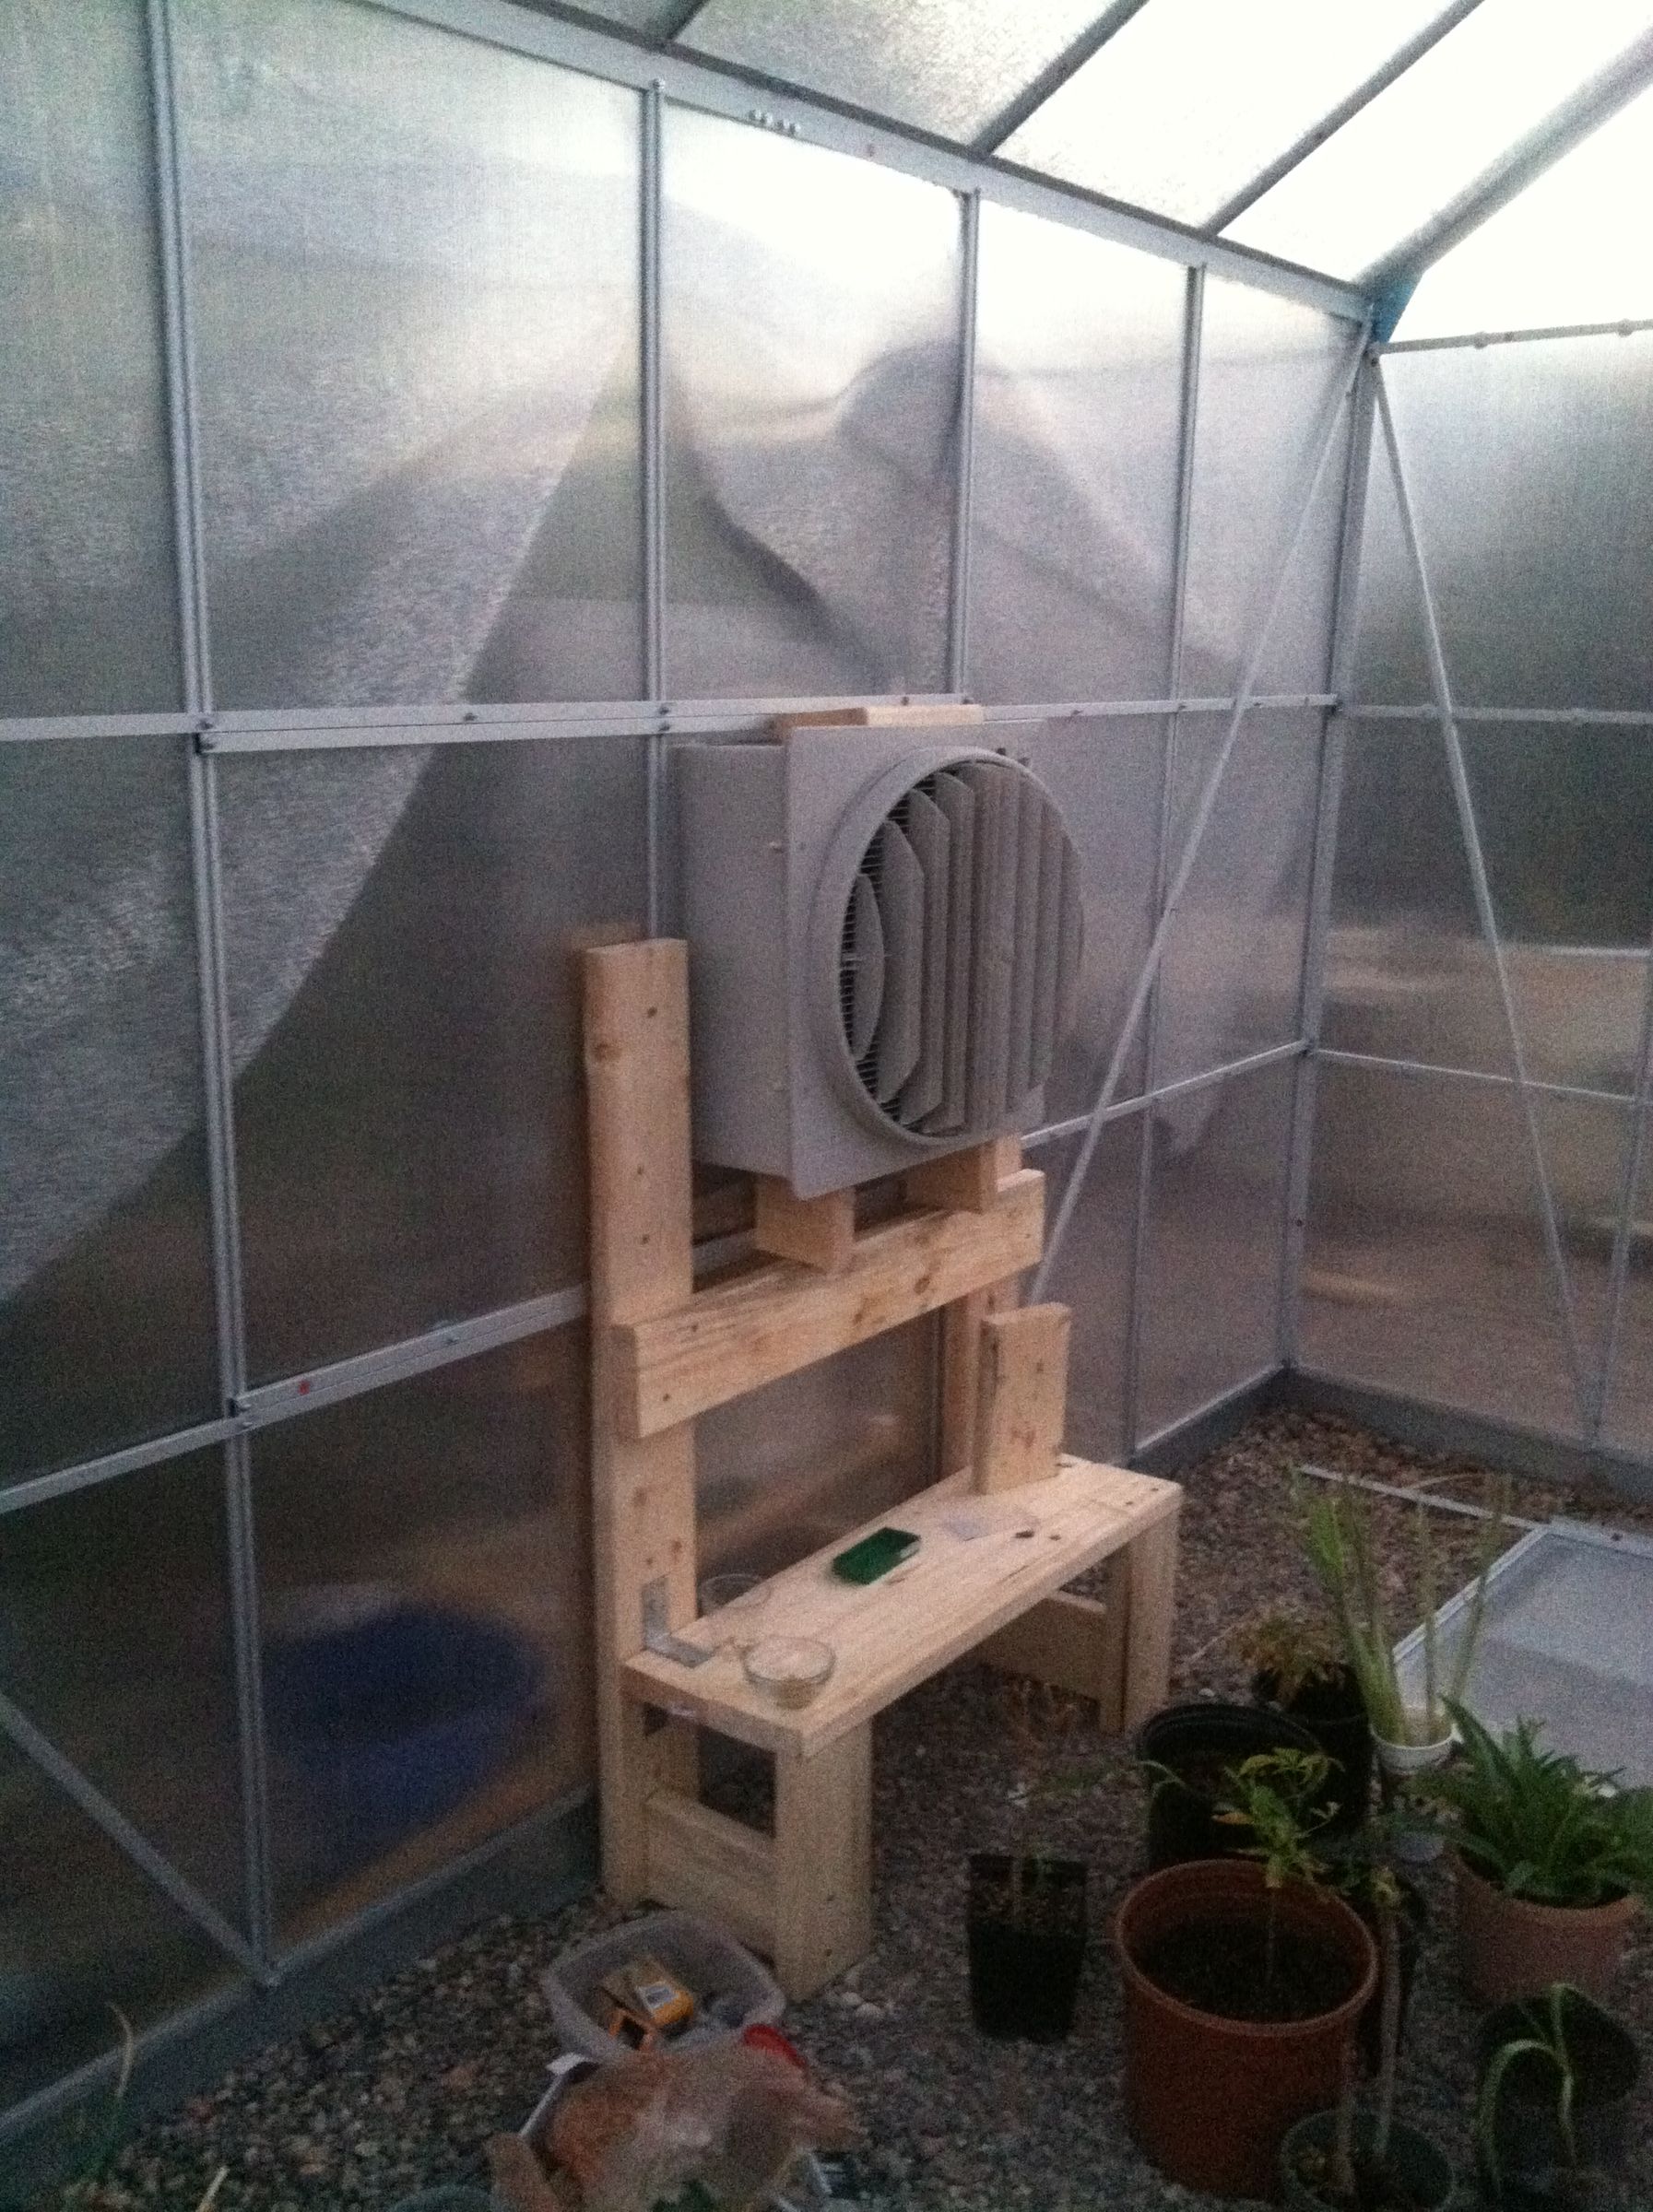
“Greenhouse Modifications for Hot …” from www.instructables.com and used with no modifications.
This myth likely started because early consumer greenhouse kits were genuinely not built for cold climates — thin polyethylene covers, no insulation value, no anchoring systems. That description fits a $79 pop-up greenhouse from a discount retailer. It does not describe a twin-wall polycarbonate kit with a proper base and supplemental heating.
Gardeners in USDA Zone 4 and Zone 5 regularly use mid-range greenhouse kits to extend their growing season by 6 to 8 weeks on both ends of the calendar — starting seeds indoors in late February and growing cold-tolerant crops like kale, spinach, and chard well into December. The structure doesn’t need to hold tropical temperatures. It just needs to stay above freezing.
How Greenhouse Kits Perform in Cold Weather
Twin-wall polycarbonate panels provide meaningful passive insulation. A 6×8 Palram Canopia Harmony greenhouse in an exposed location in Zone 5 will typically hold temperatures 10 to 15°F above ambient on a clear night without any supplemental heat — enough to protect cold-hardy crops down to 15°F ambient without additional intervention. Add a thermal mass element like water-filled black containers or brick flooring, and that buffer increases further.
Heating Options That Make Cold-Climate Growing Possible
For growers who want to push further into cold weather or maintain temperatures above 45°F for warm-season crops, supplemental heating options for greenhouse kits range widely in cost and effectiveness:
- Bio Green Palm Heater PAL 2.0 — 2kW electric fan heater rated for spaces up to 425 cubic feet, frost protection mode included, around $130
- Dr. Infrared Heater DR-218 — 1,500W infrared heater with thermostat, well-suited for 6×8 to 6×10 kits, around $80 to $100
- Propane heaters — portable and effective but require ventilation management to prevent ethylene buildup that damages plants
- Soil heating cables — used at the bench or bed level to maintain root zone temperatures independently of air temperature, effective and energy-efficient for seed starting
The key with any heating setup is combining it with a min/max thermometer so you’re actually tracking what’s happening inside the kit overnight — not guessing. The Acurite 01080M wireless sensor is a reliable and inexpensive option that lets you monitor greenhouse temperatures from inside your home.
Insulating the north wall of your greenhouse kit with bubble wrap horticultural insulation is a simple step that reduces heat loss by up to 30% in wall-mounted or exposed-north configurations — a meaningful efficiency gain that costs almost nothing.
Which Kit Styles Hold Up Best in Harsh Conditions
For cold climates with significant snow load, the frame geometry matters as much as material quality. Gothic arch and A-frame roof profiles shed snow passively, while flat or low-pitch roofs accumulate it. The Rion Grand Gardener 2 uses a classic pitched roof profile that handles moderate snow loads, while the Juliana Premium series is specifically engineered for Scandinavian winter conditions — which is about as rigorous a cold-climate test as a residential greenhouse kit will ever face.
For high-wind zones, ground anchoring is the decisive factor. Most quality kits include an anchor kit or base rail system designed for concrete, gravel, or ground anchor stakes. Using it properly — not skipping it because the ground is hard — is the difference between a greenhouse that survives a 45 mph gust and one that ends up across the yard.
Myth 6: Any Greenhouse Kit Will Work for Any Plant
A greenhouse kit is not a universal growing solution — it’s a specific environment, and that environment needs to match what you’re growing. The three variables that determine plant compatibility are light transmission, temperature management, and ventilation. Get those right for your crop list, and almost any kit can be made to work. Get them wrong, and you’ll have a very expensive way to kill plants faster than you could outdoors. For more guidance on optimizing your growing space, check out this guide on indoor gardening lighting kits.
How Light Transmission Affects Plant Growth
Standard twin-wall polycarbonate transmits 70 to 80% of available light, with some diffusion that actually benefits shade-sensitive crops by eliminating harsh direct-sun hot spots. For herbs, leafy greens, and most flowers, this is perfectly adequate. For high-light fruiting crops — tomatoes, cucumbers, peppers — in a northern climate with already-limited winter sun, that 20 to 30% reduction can be the difference between a productive crop and a leggy, low-yield disappointment. In those situations, either a glass-panel kit or a UV-optimized polycarbonate like the 6mm twin-wall used in premium Juliana kits is worth the added investment.
Ventilation Needs Most Beginners Overlook
This is the critical mistake referenced at the top of this guide — and it’s genuinely the most common reason first-time greenhouse kit owners lose plants. On a clear spring day with an outside temperature of 55°F, the interior of a closed 6×8 polycarbonate greenhouse can reach 90°F or above within two hours of sunrise. Without adequate ventilation, that heat doesn’t escape — it builds, causes heat stress, accelerates fungal conditions from high humidity, and can kill seedlings and young transplants in a single afternoon. For those looking to optimize their gardening practices, exploring indoor gardening lighting kits can be beneficial.
Matching Kit Size to What You Want to Grow
The minimum useful greenhouse kit size depends entirely on what you plan to do with it. For seed starting and overwintering container plants, a 4×6 or 4×8 kit is genuinely sufficient — you can fit three to four standard nursery trays on a single bench run in that footprint. For growing crops to harvest, a 6×8 is the practical minimum, and a 6×10 or 8×10 gives you enough room to run two bench lines with a center walkway, which is where productivity really opens up. If tomatoes, cucumbers, or peppers are on your grow list, plan for at least 4 square feet of growing space per plant — which means a 6×8 kit realistically supports six to eight fruiting plants at most, not the twenty that optimistic beginners sometimes try to squeeze in.
Myth 7: A Greenhouse Kit Replaces the Need for Gardening Knowledge
A greenhouse kit amplifies what you already know how to do. It extends your season, protects your plants from weather extremes, and gives you more control over growing conditions. What it doesn’t do is compensate for gaps in plant knowledge, watering judgment, or pest identification. In fact, the controlled environment inside a greenhouse kit can accelerate problems — fungal issues spread faster in a closed humid space, spider mite populations explode in warm dry conditions, and overwatering damage happens more quickly in pots with reduced airflow.
Growers who get the most out of their greenhouse kits in the first season are the ones who treat it as an extension of their existing garden practice, not a replacement for it. Start with crops you already know — if you’ve grown tomatoes successfully outdoors, you understand their needs well enough to manage them in a greenhouse environment. Introducing a new structure and new crops simultaneously is a recipe for a frustrating first season.
The Truth About What Greenhouse Kits Can and Cannot Do
Greenhouse kits are genuinely useful tools that deliver real, measurable benefits for home gardeners — but only when expectations are matched to what the structure is actually designed to do. They are season extenders, frost protection systems, and propagation environments. They are not climate-control chambers, automated growing systems, or substitutes for good gardening practice. The gardeners who get the most from them are the ones who understand that distinction before they buy.
Realistic Expectations for Your First Season
In your first season with a greenhouse kit, expect a learning curve that has nothing to do with the kit itself and everything to do with managing an enclosed microclimate. Temperature swings will be more dramatic than you expect — highs higher and lows lower than you planned for until you dial in your ventilation and heating rhythm. You’ll likely lose some plants to heat stress or overwatering before you develop the intuition for how your specific kit behaves in your specific location. That’s normal, and it’s part of the process. By the end of that first season, most greenhouse kit owners report they wish they had bought a larger size — which is useful information to factor into your initial purchase decision.
The Genuine Benefits That Make Them Worth It
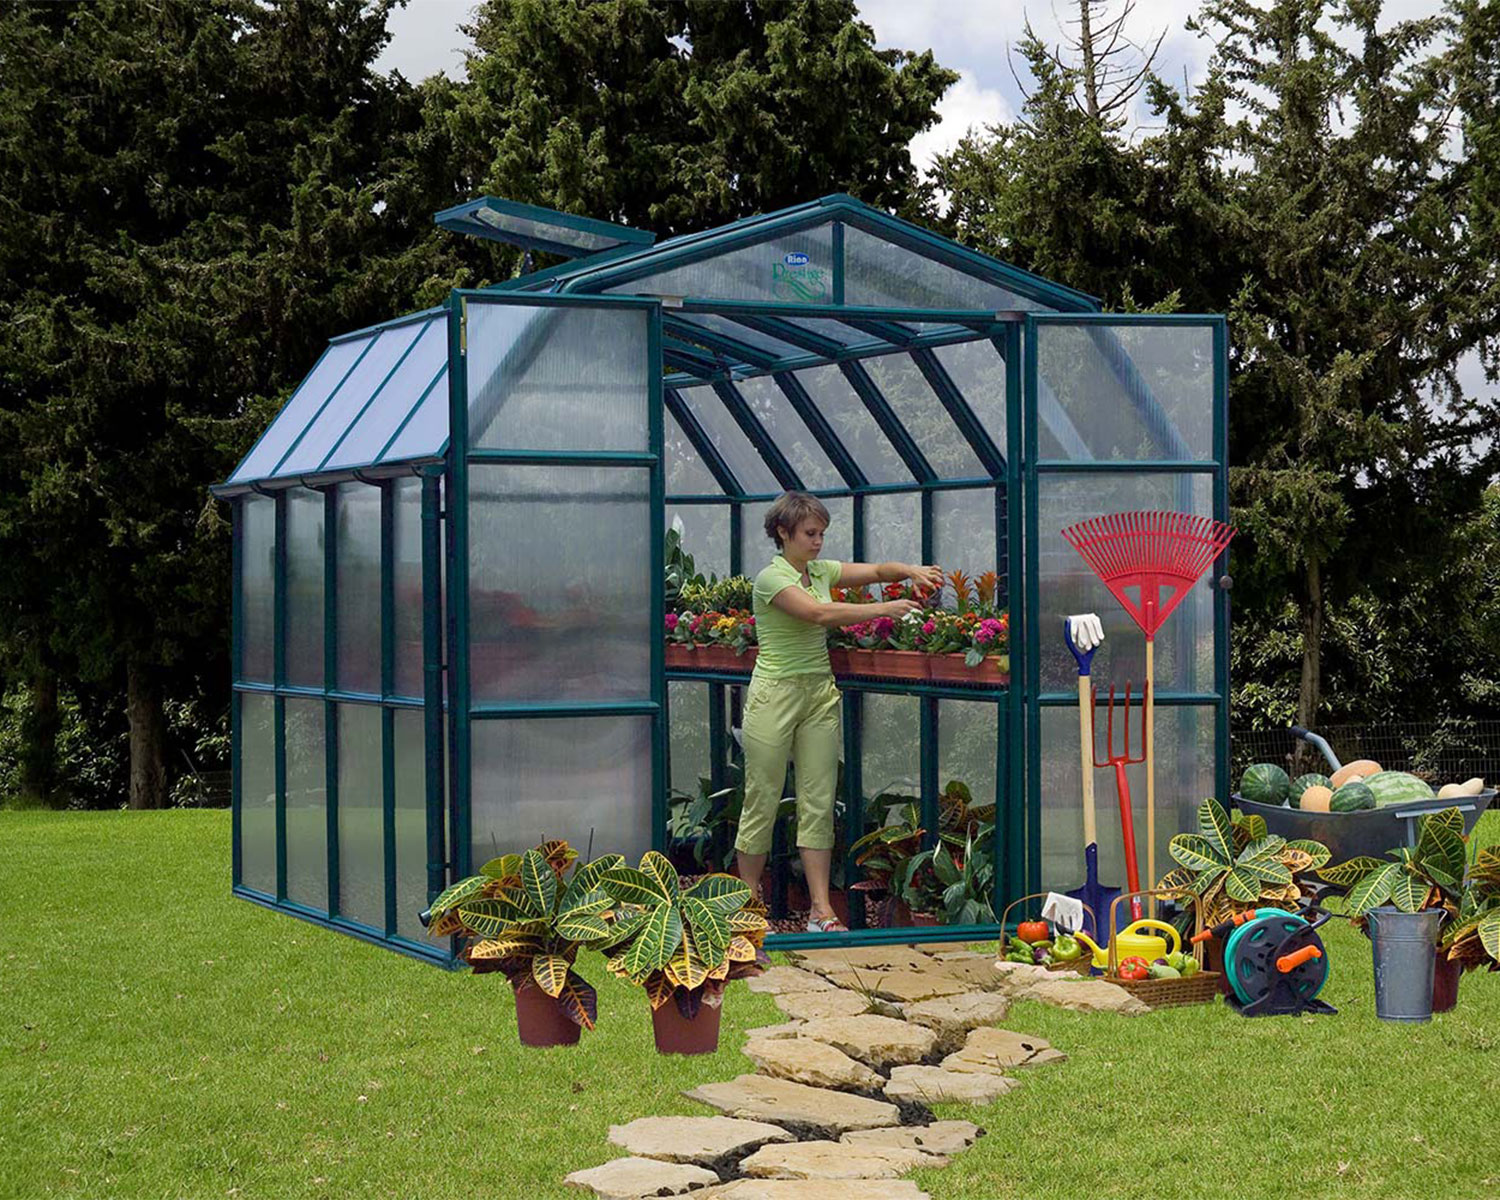
“THE ADVANTAGES OF GREENHOUSE GROWING …” from canopia.com and used with no modifications.
Despite the learning curve, the benefits greenhouse kits deliver are concrete and repeatable once you’ve dialed in the basics. Starting seeds 6 to 8 weeks earlier than your outdoor last frost date is one of the most immediate payoffs — that head start translates directly into earlier harvests and longer productive seasons for warm-season crops. Overwintering tender perennials that would otherwise need to be replaced each spring saves money every single year. And for gardeners in short-season climates, the ability to grow heat-loving crops like melons or eggplant to full maturity — crops that simply can’t complete their lifecycle outdoors in Zone 5 or Zone 6 — is genuinely transformative.
The less-talked-about benefit is consistency. Outdoor gardens are at the mercy of late frosts, early cold snaps, heavy rain events, and hail. A greenhouse kit removes most of those variables. Your seedlings don’t get flattened by a May hailstorm. Your overwintering greens don’t get killed by an unexpected -10°F cold snap. That reliability compounds over seasons — you plan more confidently, waste less, and grow more successfully year after year.
Frequently Asked Questions
Greenhouse kit questions tend to cluster around the same practical concerns — foundation requirements, weather durability, assembly time, and whether the investment makes sense for a beginner. The answers below address the most common ones directly, without the hedging that makes most FAQ sections useless. For those interested in maximizing their space, consider these indoor gardening lighting kits to enhance your greenhouse setup.
If your question isn’t covered here, the most reliable next step is to contact the manufacturer directly with your specific climate zone and intended use case — reputable brands like Palram Canopia, Juliana, and Rion have knowledgeable support teams who can give you model-specific guidance that no general review can replicate.
Do Greenhouse Kits Require a Permanent Foundation?
No — most greenhouse kits do not require a permanent concrete foundation, though they do require a stable, level base. Common base options include pressure-treated lumber frames, compacted gravel pads, interlocking patio pavers, and in some cases, direct ground anchor stakes for smaller tunnel-style kits. The Palram Canopia series, for example, is designed to mount to a pressure-treated wood base frame, which can be removed and relocated if needed. Concrete footings are optional for most residential-scale kits and are generally only necessary for permanent installations in high-wind zones or for kits larger than 10×12 feet.
Can a Greenhouse Kit Survive Heavy Snow or Wind?
Yes — with the right kit and proper installation. Mid-range polycarbonate kits like the Rion Grand Gardener 2 and Palram Canopia Harmony series are rated for specific snow and wind loads, typically 15 to 20 lbs per square foot snow load and 55 to 70 mph wind resistance when properly anchored. Premium kits like the Juliana line are engineered for significantly harsher conditions. The critical variable is anchoring — a properly anchored mid-range kit will survive conditions that destroy an unanchored premium kit.
In areas with heavy or frequent snowfall, proactively clearing accumulated snow from the roof after significant storms is good practice regardless of your kit’s rated snow load. Twin-wall polycarbonate panels are impact-resistant, but sustained static load from wet, heavy snow over multiple days is a different stress than the impact load ratings are designed for. For those interested in optimizing their urban garden spaces, consider using indoor gardening lighting kits to maintain plant health during winter months.
How Long Does It Take to Assemble a Greenhouse Kit?
Assembly time for a typical 6×8 polycarbonate panel kit with two people runs 6 to 10 hours, assuming a level base is already in place. Larger kits — 8×12 and above — generally require 12 to 20 hours across two days. The base preparation step, which most first-time builders underestimate, adds 2 to 4 hours before you even open the kit box. Building on a pre-leveled patio or deck surface significantly reduces total time. Solo assembly is possible for smaller kits but adds considerable time and frustration, particularly during roof panel and door installation.
Are Greenhouse Kits Worth It for a Beginner Gardener?
Yes — with a reasonable starting point. A beginner who buys a mid-range 6×8 polycarbonate kit, sets it up with a proper base, and uses it primarily for seed starting and season extension will see a clear return on that investment within two to three growing seasons through earlier harvests, reduced transplant costs, and the ability to overwinter plants that would otherwise need replacing. The learning curve is real but manageable, and the skills developed in the first season translate directly into more productive growing in every season that follows.
Where beginners run into trouble is overreaching on the first purchase — buying the largest kit available, attempting to grow the widest possible variety of crops, and skipping the microclimate management basics. Start with what you know, in a kit sized to your actual current garden practice, and scale from there.
What Is the Minimum Size Greenhouse Kit That Is Actually Useful?
The minimum size that delivers genuine, practical utility for most home gardeners is a 6×8 freestanding polycarbonate kit. That footprint gives you 48 square feet of interior space — enough for two bench runs, a center walkway, and real growing capacity across seed trays, container plants, and small in-ground or raised bed crops. Smaller 4×4 and 4×6 kits are functional for seed starting and overwintering but feel limiting quickly once you experience what a climate-controlled growing space makes possible. For more insights on gardening, you can explore gardening myths that might surprise you.
The exception to this guidance is the lean-to configuration. A lean-to greenhouse kit in a 4×8 footprint mounted against a south-facing wall benefits from the thermal mass and reflected heat of the building it attaches to, which meaningfully increases its effective utility beyond what the square footage alone suggests. For gardeners with limited freestanding space, a quality lean-to kit like the Palram Canopia Lean-To 4×8 punches well above its size.