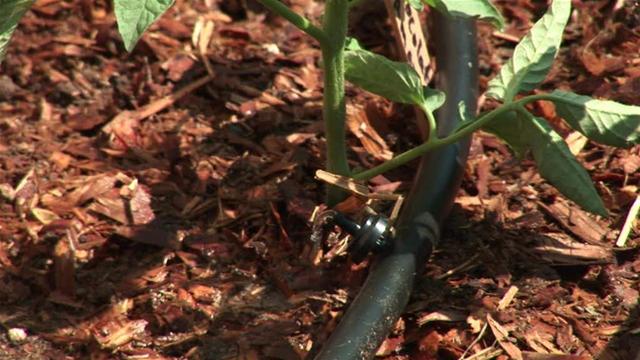
- Clogged emitters are the #1 drip irrigation problem — mineral buildup and debris block water flow, but a simple vinegar soak or needle flush can restore them in minutes.
- Pressure mismatches destroy systems fast — most home garden drip kits run best below 30 PSI, and anything above that causes burst tubing, popped fittings, and misting instead of dripping.
- Uneven watering is usually a design flaw, not a product flaw — plants at the end of long tubing runs consistently get less water due to pressure loss over distance.
- Most drip kit failures are preventable with seasonal filter cleaning, proper emitter selection, and a quick pressure check before installation.
- Drip irrigation components typically last 5–10 years above ground — but emitters may need replacing every 2–4 years depending on water quality and usage.
Drip irrigation kits are one of the smartest investments a gardener can make — until something goes wrong and you can’t figure out why half your plants are drowning while the other half are dying of thirst.
The good news? Most drip irrigation problems follow predictable patterns, and once you know what to look for, diagnosis and repair are straightforward. Carpathen designs drip irrigation systems specifically with home gardeners in mind, and the problems they see most often come down to a handful of repeatable issues — clogged emitters, pressure problems, leaks, and poor initial planning.
Your Drip System Has a Problem — Here’s How to Spot It
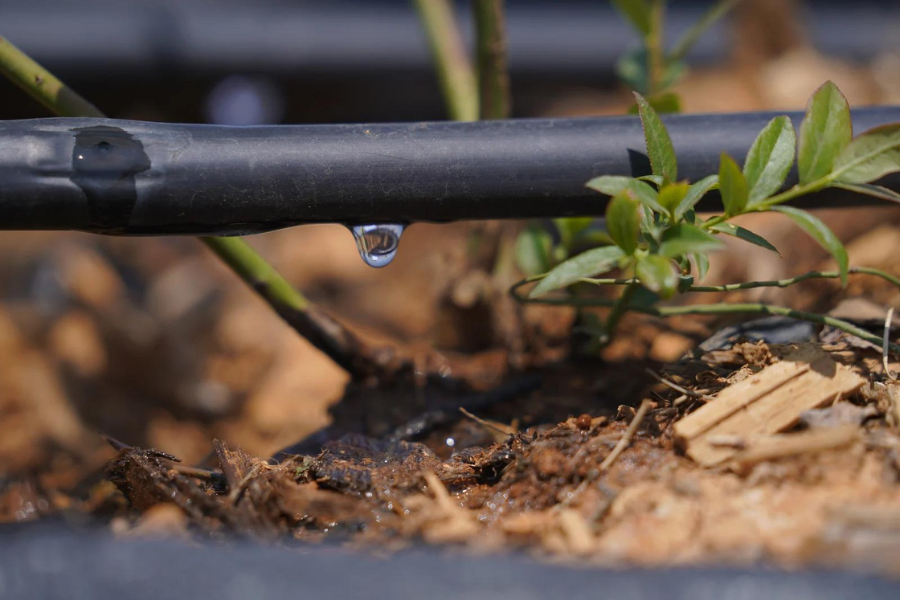
“Common Drip Irrigation Problems and its …” from ksnmdrip.com and used with no modifications.
Before diving into specific fixes, it helps to recognize the early warning signs that something in your drip kit is off. Catching problems early prevents plant loss and saves you from replacing components that could have been saved.
Watch for these red flags during or after a watering cycle:
- Puddles forming near emitters instead of slow, steady moisture
- Dry soil in areas that should be receiving water
- Visible misting or spraying from emitter heads
- Water pooling at the hose connection point
- Plants wilting despite the system running on schedule
- Tubing that has visibly popped off a fitting or connector
Any one of these symptoms points to a specific root cause. The sections below walk through each major failure point with targeted solutions.
Clogged Emitters: The Most Common Drip Irrigation Problem
Clogged emitters are responsible for more drip system failures than anything else. They’re small, easy to overlook, and when they block up, the damage to plants can happen slowly enough that you don’t notice until it’s too late.
What Causes Emitter Clogs
The two biggest culprits are mineral deposits and physical debris. Hard water leaves calcium and magnesium scale inside emitter passages over time, gradually restricting flow until nothing gets through. Sand, dirt, algae, and organic material that bypass a worn or absent filter cause the same effect but faster. For more information on common issues, check out common drip irrigation mistakes.
Root intrusion is a lesser-known but serious cause of emitter clogging, particularly in subsurface drip setups. Plant roots naturally grow toward moisture and can actually enter emitter openings, completely blocking flow. Some emitters are designed with root-deterrent chemicals built in — worth considering if you’re running buried lines.
How to Clean a Clogged Emitter
Start by removing the emitter from the tubing — most twist or pull off without tools. Hold it up to light; if you can’t see through the opening, it’s blocked. For mineral clogs, soak the emitter in undiluted white vinegar for 30 minutes, then use a thin needle or toothpick to clear the passage. Rinse thoroughly before reinstalling.
For debris clogs, a short blast from a hose or an air compressor often dislodges the blockage. Never use a wire or anything that could enlarge or scratch the emitter orifice — even minor damage changes the flow rate and defeats the purpose of having calibrated emitters.
When to Replace Emitters Entirely
Cleaning only goes so far. If an emitter has been clogged multiple times in a single season, or if flow remains inconsistent after cleaning, replacement is the right call. Quality emitters typically deliver consistent performance for 2–4 years, though water quality plays a major role. Hard water regions will see shorter lifespans. Keep a small stock of replacement emitters on hand — they’re inexpensive and swapping one out takes under a minute. For more on maintaining a healthy garden environment, check out this guide to prevent cross-contamination in garden kits.
Wrong Water Pressure Ruins Your Whole System
“Water Pressure …” from advancedpumpandwell.com and used with no modifications.
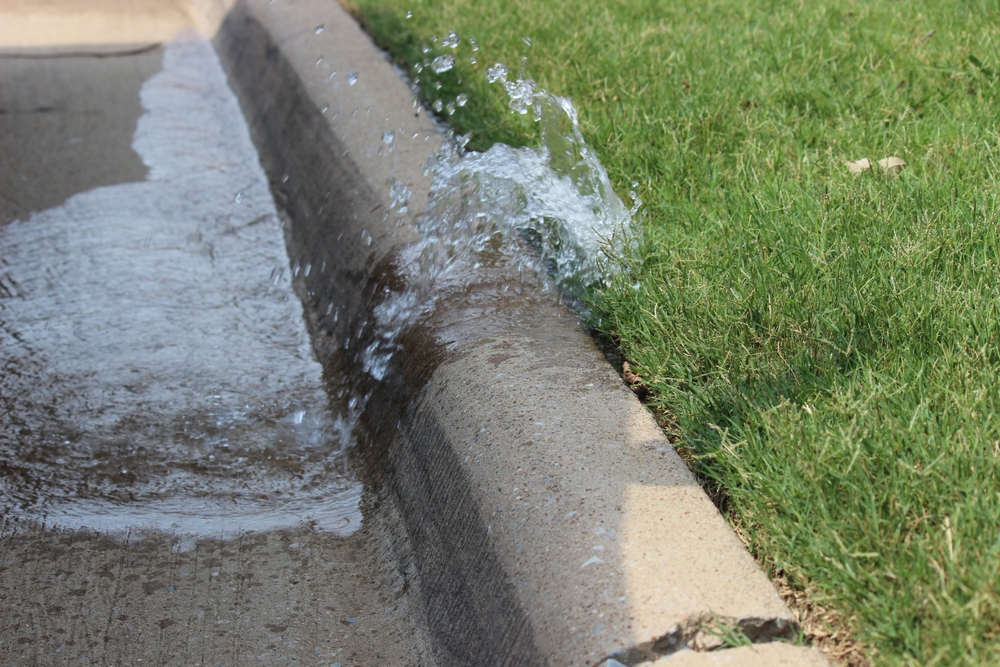
Pressure is the invisible variable that determines whether your entire drip kit performs or fails. Too high and components blow apart; too low and plants at the far end of your layout never get enough water. Most home garden drip systems are engineered to operate below 30 PSI, and standard household supply lines commonly deliver 40–80 PSI straight from the tap.
Signs Your Pressure Is Too High or Too Low
High pressure symptoms are usually dramatic and obvious — emitters that mist or spray instead of drip, fittings that pop off tubing, or tubing that develops pinhole leaks or bursts. Low pressure problems are subtler: slow or uneven output, dry zones at the end of runs, and emitters that drip irregularly or not at all.
How to Test Your Water Pressure at Home
A basic water pressure gauge — available at any hardware store for under $15 — threads directly onto your outdoor spigot. Turn the tap fully open and read the gauge. Anything above 40 PSI going into a standard drip kit requires a pressure regulator inline at the connection point. If you’re reading below 20 PSI at the source, flow restrictors, long tubing runs, and elevation changes will compound the problem significantly.
How to Fix Pressure Problems With Regulators
A pressure regulator is the single most effective fix for high-pressure systems. Install one directly between your water source and the main supply line of your drip kit. Most drip irrigation pressure regulators are preset — common options are 15 PSI, 25 PSI, and 30 PSI models. For standard garden drip kits with typical emitters and 1/2 inch mainline tubing, a 25 PSI regulator hits the sweet spot between adequate flow and component protection. For more insights, you can explore common drip irrigation mistakes to avoid.
If you’re working with a low-pressure situation, the approach is different. Shorten your tubing runs, reduce the number of emitters per zone, and consider upgrading to a larger diameter mainline — stepping from 1/4 inch to 1/2 inch tubing dramatically reduces friction loss over distance. Elevation also matters: running tubing uphill from the source costs roughly 0.43 PSI per foot of rise, which adds up fast on sloped gardens.
Leaking Tubing and Fittings

“Drip irrigation fittings leaking : r …” from www.reddit.com and used with no modifications.
A drip system that leaks is wasting the exact resource it’s designed to conserve. Beyond water waste, leaks near root zones cause overwatering and root rot, while leaks mid-line starve everything downstream. The frustrating part is that small leaks are easy to miss during a casual inspection — the system appears to be running fine while quietly flooding one corner of your garden. For more on preventing issues in your garden, check out The Household Guide to Prevent Cross-Contamination in Garden Kits.
Most leaks in drip kits fall into one of three categories: fitting connections that weren’t fully seated, tubing that has cracked or degraded from UV exposure, and emitter ports where the surrounding tubing has stretched or split from repeated insertion and removal. Above-ground drip components are generally rated for 5–10 years of service life, but UV damage in sunny climates can accelerate tubing degradation significantly, sometimes within 2–3 seasons if the tubing isn’t UV-stabilized.
Prevention is straightforward. When assembling fittings, push tubing firmly and fully onto barbed connectors — you should feel and sometimes hear a distinct click or seat. For barbed fittings in particular, briefly dipping the tubing end in warm water softens the material and makes full insertion much easier, dramatically reducing the chance of a slow leak at the joint. For more gardening tips, explore our custom raised garden beds guide.
Where Leaks Most Commonly Happen
The highest-risk leak points in any drip kit are the hose-end connections, barbed tee and elbow fittings, emitter insertion points along the mainline, and anywhere tubing makes a sharp bend. Sharp bends don’t just restrict flow — they stress the tubing wall and create micro-cracks over time. Use elbow fittings designed for your tubing diameter rather than forcing tubing around tight corners.
How to Find and Patch a Leak
Quick Leak Detection Method:
1. Run your system at normal operating pressure during early morning or evening when the soil surface is dry.
2. Walk the entire tubing layout slowly, watching for dark wet patches on dry soil, water droplets on tubing surfaces, or any fitting that looks damp at the joint.
3. For suspected pinhole leaks, dry the tubing section with a cloth, then hold a piece of white tissue paper along the line — even a small leak will dampen or move the tissue.
4. Mark leak locations with a small flag or stake before shutting off the water — leaks can be hard to relocate once the surrounding soil is wet.
For small pinhole leaks in tubing, goof plugs — the small barbed caps designed for drip systems — are your fastest fix. Simply punch out the damaged section with a hole punch and insert a goof plug to seal it. If you need to maintain flow past that point, cut out the damaged section entirely and reconnect using a straight coupling barb.
Leaking fittings that won’t seal even after re-seating usually need replacement rather than repair. Barbed fittings are inexpensive, and attempting to seal them with tape or sealant is a temporary fix at best. The water pressure cycling on and off daily will eventually work any temporary patch loose.
Uneven Watering Across Your Garden
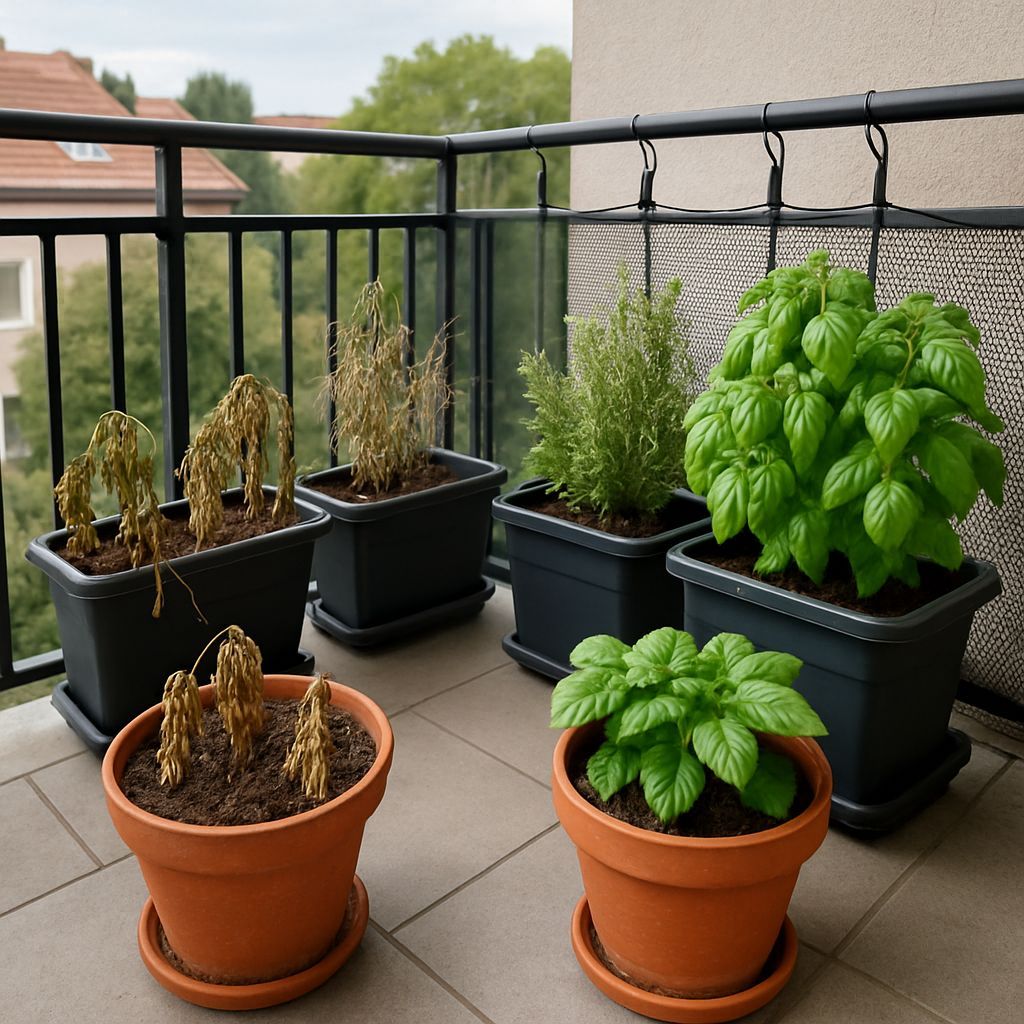
Uneven watering is one of the most frustrating drip irrigation problems because the system appears to be working — it’s running on schedule, there are no obvious leaks — but some plants thrive while others struggle. In most cases, the cause is a design issue rather than a defective product. For more insights on this, check out common drip irrigation mistakes.
Why Plants at the End of the Line Get Less Water
Pressure drops as water travels through tubing. Every foot of 1/4 inch tubing, every emitter, every tee fitting creates friction resistance that reduces the pressure available to downstream emitters. In a long single-run layout, emitters at the beginning of the line may be operating at 25 PSI while those at the far end are working with 10 PSI or less — producing dramatically different output volumes even from identical emitters.
How to Balance Water Distribution
The most effective solution is a loop layout rather than a single straight run. By connecting the end of your mainline back to the water source — creating a closed loop — pressure equalizes from both directions, and every emitter along the loop receives a much more consistent supply. Where a loop isn’t practical, use pressure-compensating emitters, which are engineered to deliver the same flow rate across a wide pressure range, typically 7–45 PSI. They cost slightly more than standard emitters but solve end-of-line starvation completely.
Layout Mistakes That Make Uneven Watering Worse
Running a single zone across plants with dramatically different water needs is a planning mistake that no amount of hardware adjustment fully corrects. Group plants by water requirement — high-demand vegetables together, drought-tolerant herbs in a separate zone — and use emitters with appropriate flow rates for each group. Mixing 0.5 GPH and 2.0 GPH emitters on the same pressure line without accounting for the flow difference leads to chronic over and underwatering that looks like a pressure problem but is actually an emitter selection issue. For more on efficient watering, explore self-watering planter tools that can help manage water distribution effectively.
Timer and Filter Failures That Go Unnoticed
- Clogged inline filter: Reduces flow to the entire system, mimicking low-pressure symptoms — clean or replace the filter screen at the start of each growing season.
- Timer battery failure: Battery-operated timers give little warning before failing; replace batteries annually even if the timer appears functional.
- Timer programming errors: Watering duration set too short or cycles set to the wrong days are common after daylight saving time changes or power interruptions.
- Stuck timer valve: A valve that won’t fully open restricts flow; a valve that won’t close leads to continuous watering and root rot.
- Filter bypass: Installing a system without an inline filter, or removing a clogged one without replacement, sends debris directly to emitters.
The inline filter is the unsung hero of any drip kit. It sits at the head of the system, catching sediment and debris before they reach emitters, and it requires almost no attention — which is exactly why it gets ignored. A filter screen clogged with sediment restricts the flow entering your entire system and is often mistaken for a pressure or pump problem. Unscrew the filter housing at the start of each season, rinse the mesh screen under running water, and reinstall. It takes two minutes and prevents hours of troubleshooting downstream.
Timers are the second most overlooked failure point. A timer that’s misconfigured or running on a dying battery can silently underwater your entire garden for weeks. Get into the habit of manually triggering a test cycle after any programming change, and physically watch the system run for the first few minutes to confirm all zones are activating correctly. Digital timers with LCD displays will often show a low battery indicator, but mechanical dial timers provide no warning at all. For more information, check out this guide on troubleshooting your drip system.
One often-missed timer issue is the overlap between watering schedules and actual plant needs across seasons. A schedule dialed in for peak summer heat will dramatically overwater the same plants in cooler spring or fall conditions. Adjust run times by season — not just when you notice problems — and your plants and your water bill will both benefit.
Poor Planning Causes Most Drip Kit Problems
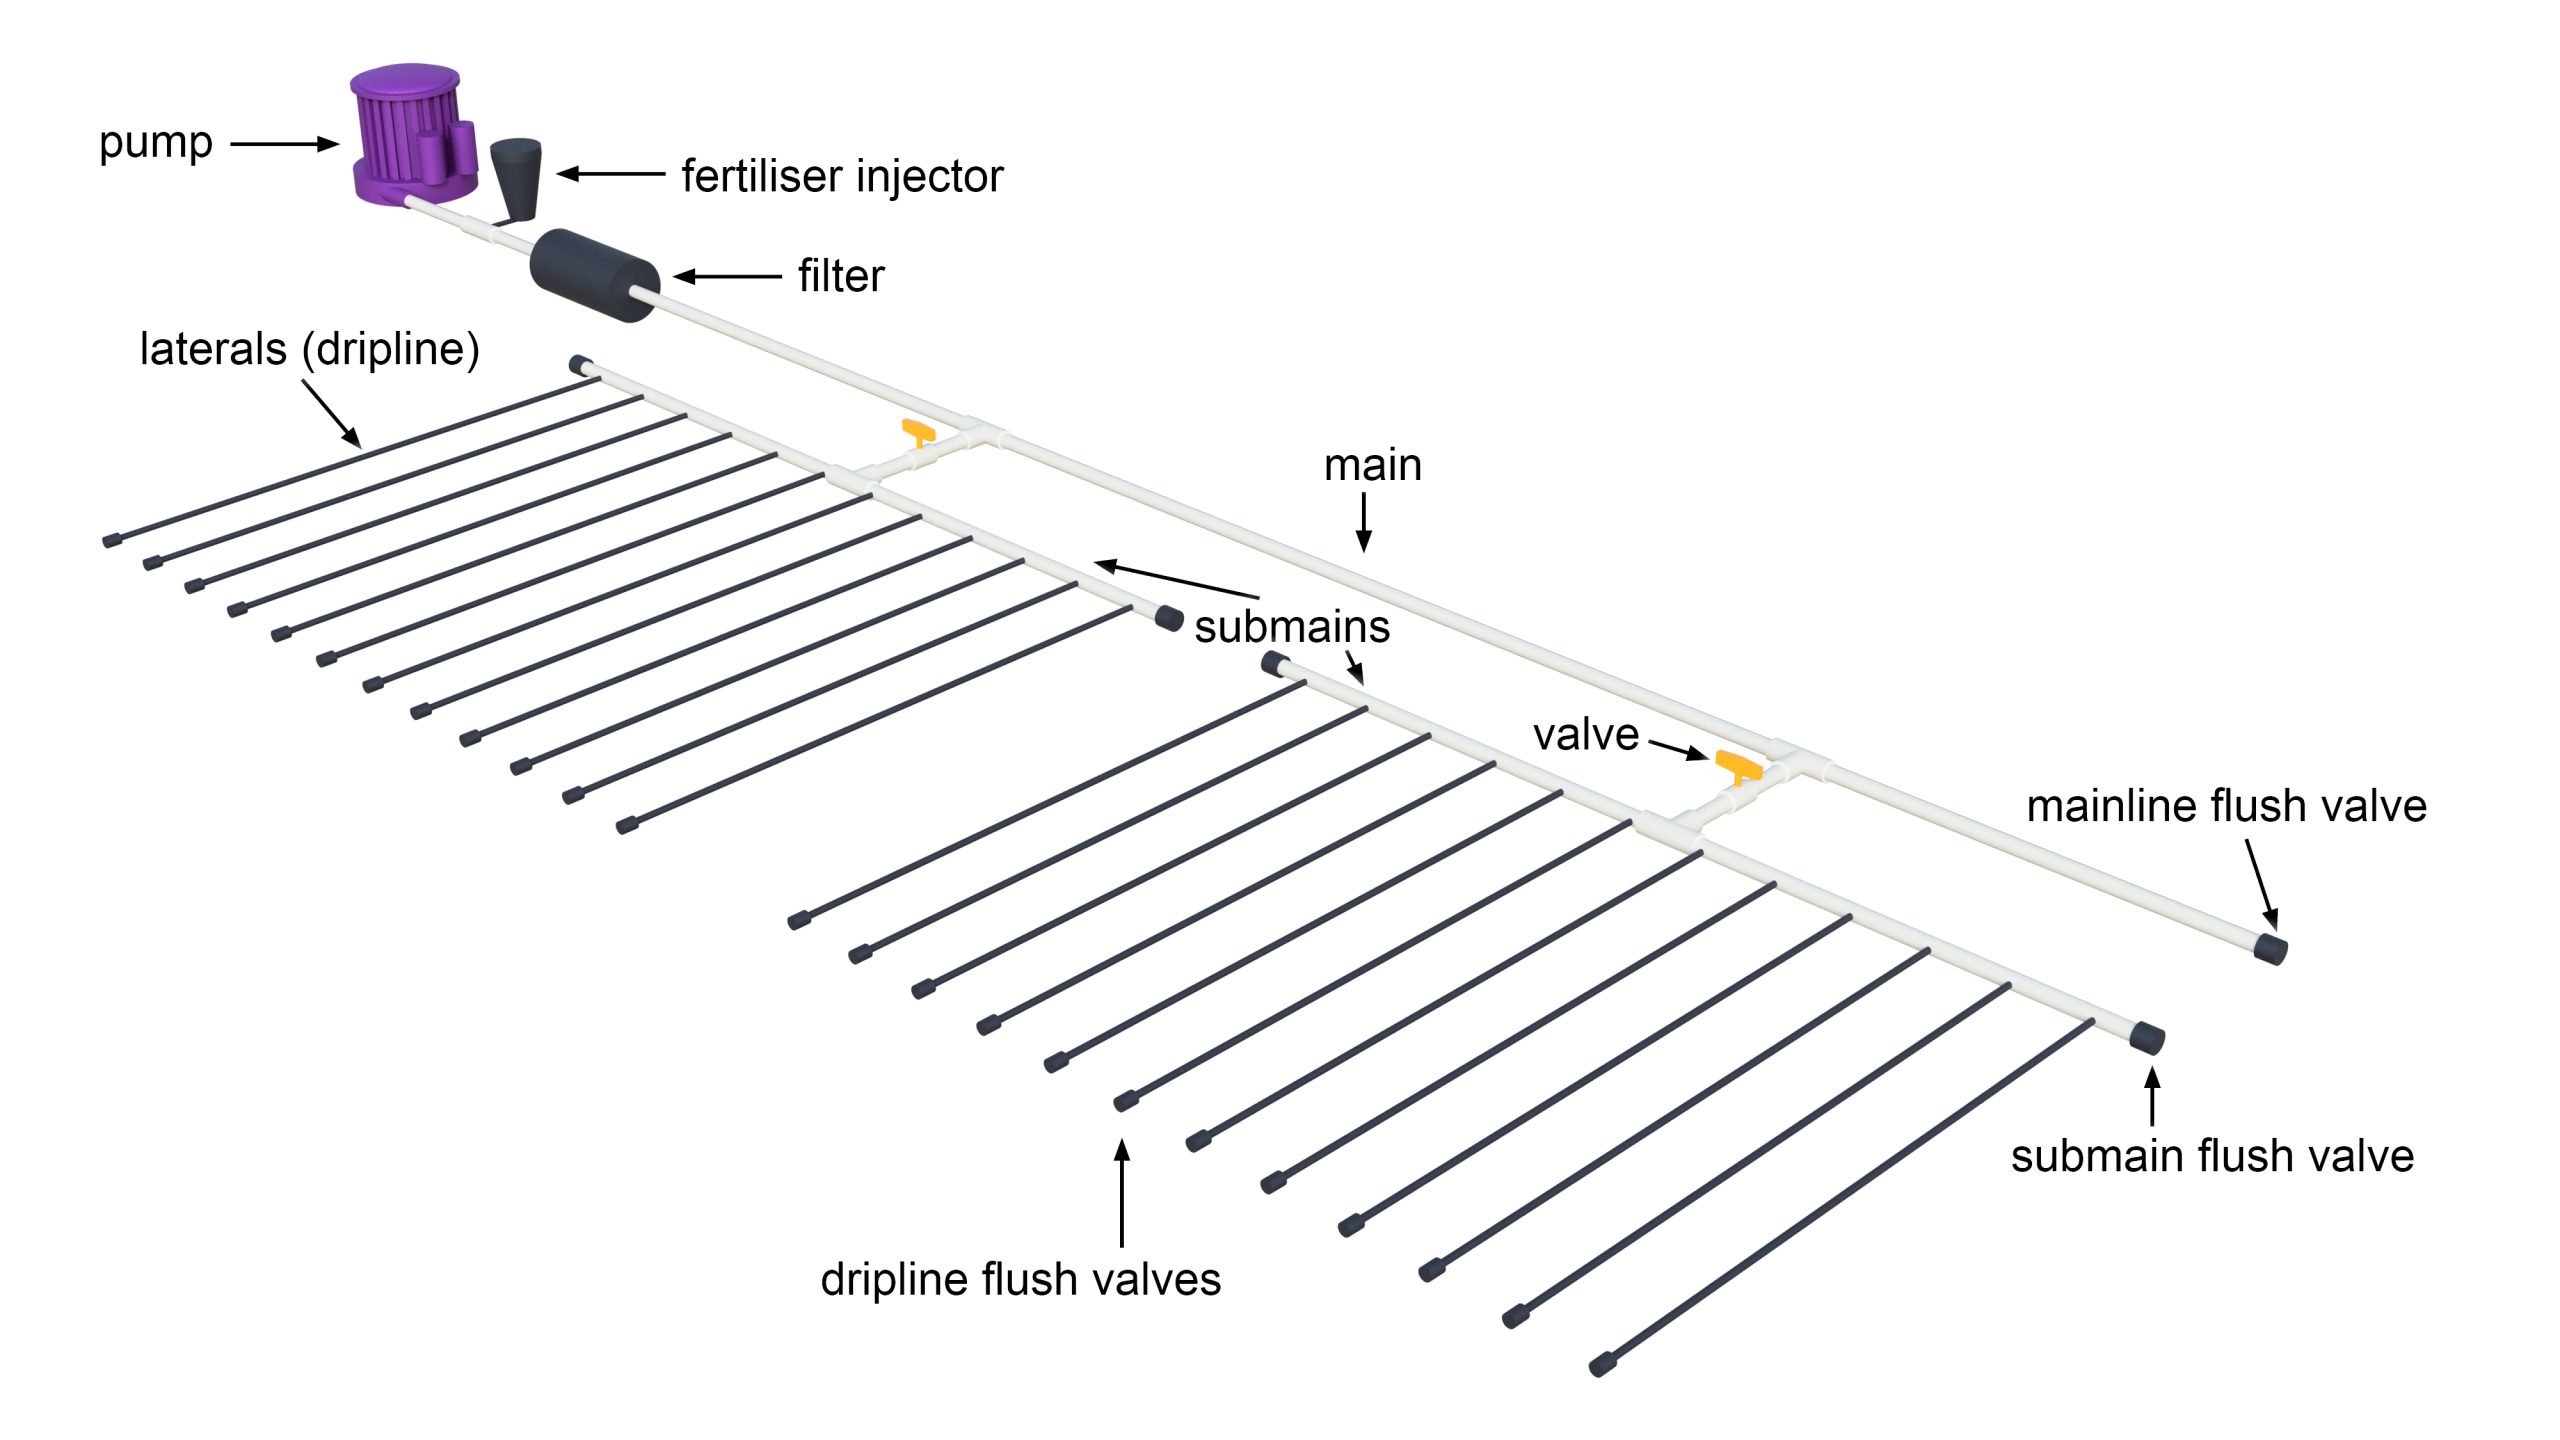
“Planning a drip irrigation system …” from agriculture.vic.gov.au and used with no modifications.
The majority of drip irrigation kit problems don’t start in the garden — they start at the planning stage. Grabbing a kit off the shelf, connecting it to the tap, and laying tubing wherever it reaches is the fastest route to every problem covered in this article simultaneously. A few minutes of upfront planning eliminates most of them before they start.
Before installing any drip kit, sketch your garden layout and note three things: the water needs of each plant, the distance from your water source to the farthest point in your garden, and whether your garden is flat or sloped. Match your emitter flow rates to plant requirements — tomatoes and squash typically need 1–2 GPH emitters, while herbs and succulents do fine with 0.5 GPH. Use 1/2 inch mainline tubing for runs longer than 30 feet, and branch off with 1/4 inch distribution tubing to individual plants. This simple hierarchy keeps pressure consistent and water distribution even from the first day.
Frequently Asked Questions
How Often Should I Clean My Drip Irrigation Emitters?
Clean your emitters at least once per growing season — ideally at the start of spring before heavy use begins. If you have hard water with high mineral content, inspect them every 6–8 weeks during active watering periods.
A quick visual check during each watering cycle takes seconds and catches problems early. Look for emitters that are misting instead of dripping, showing no output at all, or dripping unevenly compared to neighboring emitters on the same line. For more information, you can check out this guide on troubleshooting your drip system.
For a deeper clean, remove emitters and soak them in undiluted white vinegar for 30 minutes, then rinse and reinstall. This dissolves calcium and mineral buildup that restricts the internal flow passage. If an emitter still doesn’t perform consistently after cleaning, replace it — individual emitters cost very little and inconsistent output is worse for plants than no output, because it makes diagnosing watering problems far harder. For more information on maintaining your drip irrigation system, check out these troubleshooting tips.
What PSI Should a Garden Drip Irrigation System Run At?
Most home garden drip irrigation kits are designed to operate between 15 and 30 PSI. The sweet spot for the majority of standard emitters and 1/2 inch mainline tubing setups is around 25 PSI. Running above 30 PSI risks blowing fittings off, bursting tubing, and causing emitters to mist rather than drip — wasting water and potentially damaging plants with uneven saturation. For more information on maintaining your garden, check out this guide to prevent cross-contamination in garden kits.
Since most household water supplies deliver 40–80 PSI at the outdoor spigot, installing a preset 25 PSI pressure regulator at the head of your system is the single most protective step you can take for your drip kit’s long-term performance and component lifespan.
Can I Use a Drip Irrigation Kit on a Sloped Garden?
Yes, but slope requires specific planning. Water pressure increases as tubing runs downhill — roughly 0.43 PSI gained per foot of descent — and decreases as it runs uphill at the same rate. On a sloped garden, emitters at the bottom of the run will receive significantly higher pressure than those at the top, leading to overwatering at the bottom and underwatering at the top. The fix is to use pressure-compensating emitters throughout the sloped section, which self-regulate output across a wide pressure range and deliver consistent flow regardless of elevation change. On steeper slopes, installing a separate pressure regulator for the downhill zone adds an additional layer of protection against high-pressure damage to fittings and tubing.
Why Are Some of My Plants Getting Too Much Water While Others Get Too Little?
This almost always comes down to one of three causes: mismatched emitter flow rates, pressure drop across a long tubing run, or plants with different water needs placed on the same zone without accounting for those differences. Check that each plant has an emitter matched to its specific water requirement, confirm your system is running within the correct pressure range, and consider splitting high-demand and low-demand plants into separate zones if the imbalance persists despite correct emitter selection.
How Long Do Drip Irrigation Kits Typically Last Before Parts Need Replacing?
Above-ground drip irrigation components — tubing, fittings, connectors, and filter housings — are generally rated for 5 to 10 years of service life under normal conditions. UV exposure in sunny climates is the primary accelerator of tubing degradation; burying mainline tubing a few inches below the soil surface or covering it with mulch significantly extends its lifespan.
Emitters have a shorter practical lifespan due to mineral buildup and mechanical wear from repeated water cycling. Expect to replace emitters every 2–4 years, with hard water areas trending toward the shorter end of that range. Timers and pressure regulators typically last 3–5 years, with battery-operated timer units dependent on annual battery replacement to reach that range.
Drip irrigation systems are a fantastic way to conserve water and ensure your plants receive the right amount of moisture. However, there are common issues that can arise, such as clogged emitters and uneven water distribution. For more insights on these problems, you can explore the top 10 most common drip irrigation mistakes to avoid in your garden. By understanding these issues, you can implement effective solutions and maintain a healthy garden.